Build a pet emergency kit that actually works when things go wrong
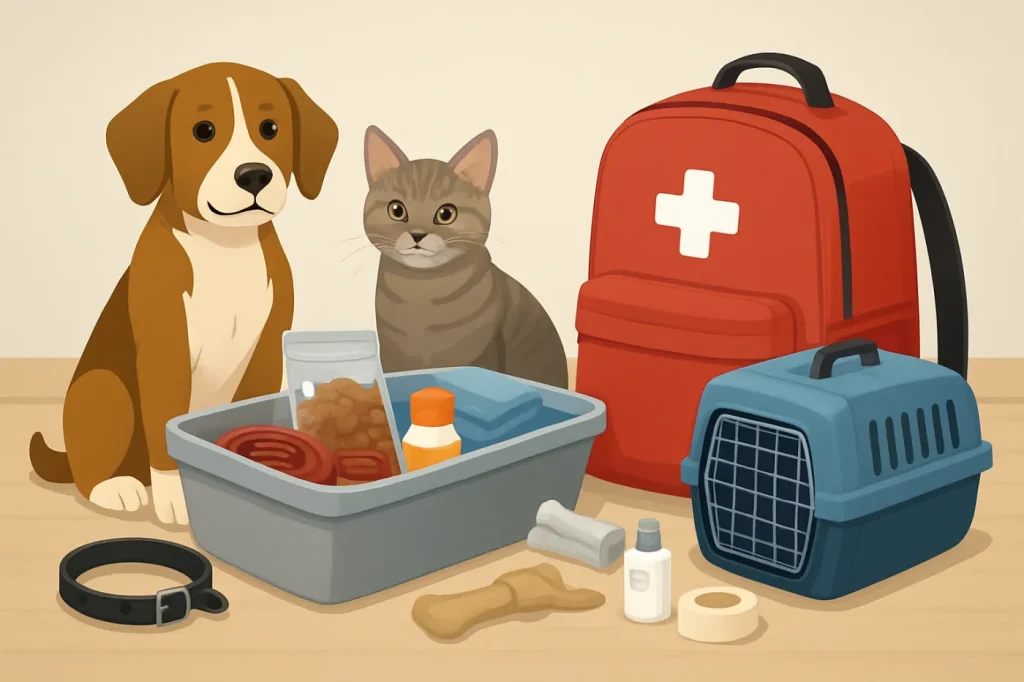
A practical pet emergency kit for dogs and cats should help you in three real-world situations:
- Staying home safely for several days if you lose power, water, or access to stores.
- Leaving in minutes with a grab-and-go bag if you must evacuate for a wildfire, hurricane, building fire, or chemical spill.
- Handling sudden illness or injury with basic first-aid supplies and medical information until you reach a veterinarian.
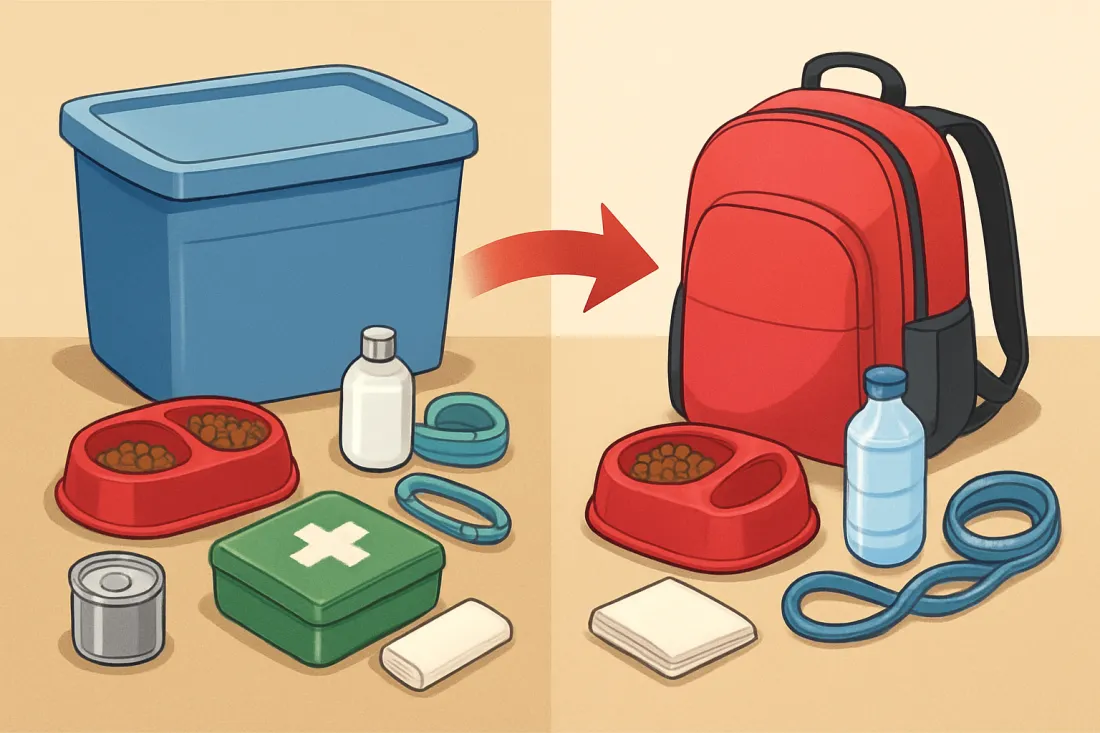
For most US households, the easiest way to cover these situations is to build two connected parts:
- An at-home emergency kit that lives in a closet or safe area.
- A grab-and-go evacuation bag that stays by the door or with your pet’s carrier.
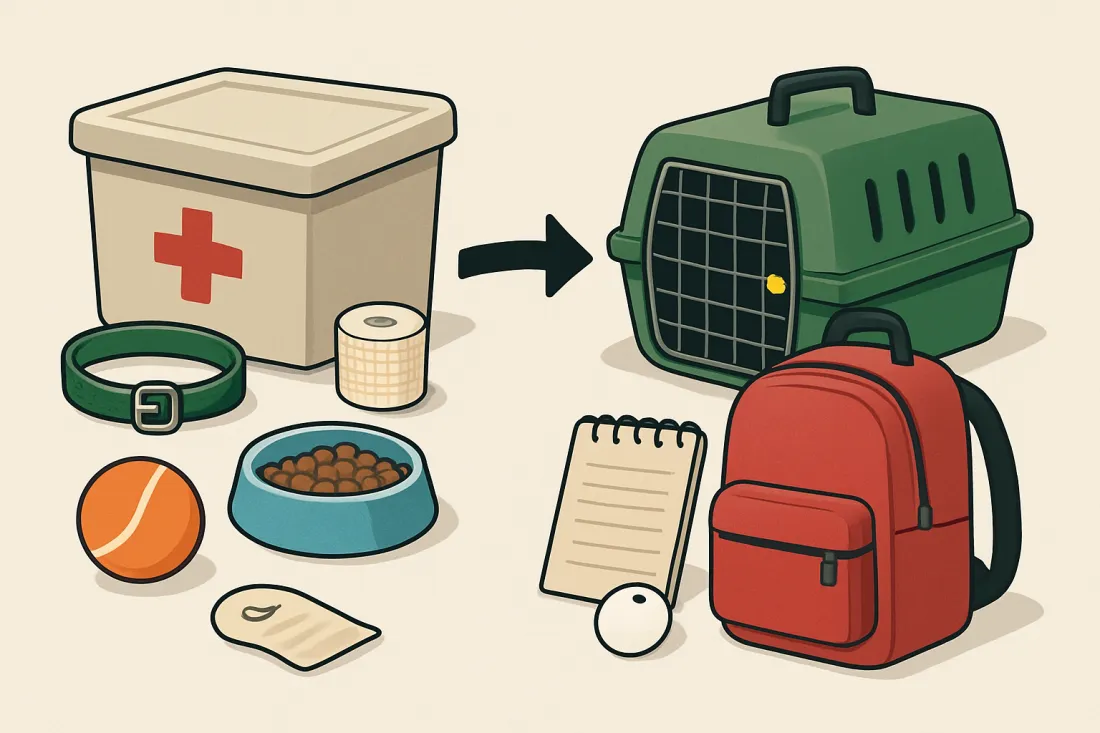
You can split one set of supplies between them or keep duplicates of critical items (food, medications, leashes, and documents) so you are never choosing between staying and going.
Why every US dog and cat owner needs a pet emergency kit
Emergencies in the United States are not rare, and many of them affect pets directly. A kit is part of responsible pet ownership, not just a “prepper” extra. Common situations where a pet emergency kit makes a difference include:
- Severe weather: hurricanes, tornadoes, blizzards, ice storms, heat waves, and strong thunderstorms can knock out power and water or block roads for days.
- Wildfires and smoke: fast-moving fires and heavy smoke can trigger sudden evacuations, especially in the West and parts of the South.
- Home or apartment fires: you may have only minutes to leave and no time to gather pet supplies.
- Chemical spills, gas leaks, or train incidents: you might be told to evacuate or shelter in place with very little warning.
- Sudden illness or injury: a basic first-aid kit and your pet’s records help you act quickly on the way to an emergency vet.
In many US shelters and hotels, pets are allowed only if they are under control and contained (leash, carrier, or crate) and you can care for them yourself. Showing up with a prepared kit makes it more likely that you and your pet can stay together.
If you already follow an annual vet care schedule for dogs and cats in the United States, you are halfway there: your pet is vaccinated, microchipped, and has a clear medical history you can copy into the kit.
Checklist for a basic at-home emergency kit for dogs and cats
Use this checklist to build a solid at-home kit you can rely on for several days of disruption. Store everything in a waterproof bin or sturdy box in a cool, dry place that you can reach quickly.
Food and water
- Pet food: enough of your pet’s regular food for several days. Many owners aim for roughly 3–7 days worth, but choose an amount that fits your space and local risks.
- Water: extra drinking water for pets and people. If you already store emergency water for your household, mentally reserve a portion for pets.
- Food and water bowls: lightweight, unbreakable bowls; collapsible silicone bowls save space.
- Manual can opener: if you use canned food that is not pull-tab.
- Treats: small supply of familiar treats for rewards and stress relief.
Containment and comfort
- Crate or carrier: sized so your pet can stand, turn around, and lie down comfortably.
- Extra leash and collar/harness: keep a backup set in the kit, not just by the door.
- Pet bed or blanket: something familiar that smells like home to reduce stress.
- Waste supplies:
- Dogs: poop bags and a small scoop if you have a yard.
- Cats: disposable litter tray or shallow box, extra litter, and small trash bags.
- Toys and chews: one or two favorite items to help with anxiety and boredom.
Health and hygiene
- Current medications: ideally a backup supply, stored in original containers with labels.
- Flea, tick, and heartworm preventives: at least one dose if possible.
- Grooming supplies: brush or comb, pet-safe wipes, and a small towel.
- Cleaning supplies: enzyme cleaner or disinfectant wipes safe for pet areas, plus paper towels.
- Disposable gloves: for cleaning up messes or handling minor injuries.
Information and documents
- Printed vet records: vaccination history, chronic conditions, allergies, and current medications.
- Recent photos of your pet: front and side views, printed and stored in a plastic sleeve.
- Emergency contacts: your regular vet, nearest 24/7 emergency vet, and a trusted friend or family member who could temporarily house your pet.
- Microchip details: company name, phone number, and your pet’s microchip ID.
- Behavior notes: short list of triggers or handling tips (for example, “afraid of loud noises,” “does not like other dogs”).
Basic tools and extras
- Flashlight or headlamp with extra batteries.
- Small roll of duct tape for temporary repairs to crates or carriers.
- Permanent marker and masking tape for labeling containers.
- Small scissors or multi-tool (stored safely out of reach of children).
Checklist for a grab-and-go evacuation bag for dogs and cats
Your evacuation bag should be light enough to carry while managing your pet. Store it near your main exit or with your pet’s crate or carrier.
Essentials for any evacuation
- Leash, collar, and ID tags: with your current cell number written or engraved.
- Secure carrier or crate: one per pet, labeled with your name and phone number.
- Portable food and water:
- Small, sealed bags of dry food or pouches of wet food.
- Lightweight water bottles and collapsible bowls.
- Medications for several days: in a labeled pouch or small container.
- Copy of vet records: in a waterproof sleeve or zip-top bag.
- Waste supplies: poop bags, small trash bags, and for cats, a small bag of litter and disposable tray.
- Comfort item: small blanket or toy that smells like home.
- Small towel: for drying, padding, or makeshift sling support.
Quick-access items to keep on top of the bag
- Compact first-aid pouch (see first-aid section below).
- Written feeding instructions and behavior notes.
- List of pet-friendly hotels or boarding options you have pre-checked in your area.
- Spare ID tag and small roll of tape and marker for last-minute labeling.
Comparison table: at-home kit vs. grab-and-go bag
| Item type | At-home emergency kit | Grab-and-go evacuation bag |
|---|---|---|
| Food and water | Can hold a larger supply for several days at home; bulk containers and larger jugs are fine. | Smaller, lightweight portions in sealed bags or pouches; focus on what you can carry. |
| Containment | Crate or carrier can be heavier and stay in one place. | Carrier or crate must be easy to move quickly and fit in your vehicle or on public transport. |
| Comfort items | Full-size bed, extra blankets, and multiple toys. | One small blanket and one or two favorite toys to save space. |
| Documents | Complete file with detailed records, behavior notes, and microchip information. | Condensed copies of key records and emergency contacts in a waterproof sleeve. |
| First-aid supplies | More complete kit with extra bandages, tools, and cleaning solutions. | Compact version focused on what you can use quickly while traveling. |
| Tools and extras | Flashlight, tape, extra cleaning supplies, and backup bowls. | Only the most essential tools, chosen for low weight and quick access. |
Recommended first-aid items and safe over-the-counter supplies
A pet first-aid kit does not replace a veterinarian, but it can help you stabilize your dog or cat and prevent minor issues from getting worse while you arrange professional care.
Core first-aid tools for dogs and cats
- Digital thermometer (label it for pet use only).
- Gauze pads and rolls for wrapping wounds or creating makeshift bandages.
- Non-stick sterile pads for covering cuts.
- Self-adhesive bandage wrap that sticks to itself, not fur.
- Small scissors with blunt tips for cutting bandages or fur around a wound.
- Tweezers for removing splinters or ticks.
- Disposable gloves to keep wounds clean and protect your hands.
- Saline solution for rinsing eyes or flushing small wounds.
- Clean cloths or small towels for pressure, cleaning, or support.
- Muzzle or soft cloth that can act as a temporary muzzle for dogs that may bite when in pain.
Over-the-counter items to discuss with your veterinarian
Before adding any medications or human over-the-counter products to your kit, ask your veterinarian what is safe for your specific pet and what dose to use. Some human medications are dangerous or even fatal to pets. Common items to ask your vet about include:
- Pet-safe antiseptic solution or wipes for cleaning minor cuts.
- Pet-specific anti-diarrhea products.
- Electrolyte solutions that are safe for dogs or cats.
- Topical sprays or gels for minor skin irritation, hot spots, or insect bites.
- Tick remover tool or pet-safe tick treatment.
Store any medications in their original packaging with dosing instructions. Add a note with your vet’s guidance (for example, weight-based dosing or when not to use a product).
Storing medical records, ID, and microchip information safely
If you are separated from your pet or need emergency care from a new veterinarian, clear identification and medical history can make a major difference in how quickly your pet receives help.
Identification on your pet
- Collar with ID tag: include your pet’s name, your cell phone number, and an alternate contact if possible.
- Microchip: if your pet is microchipped, make sure the registration is up to date with your current phone and address. You can usually check and update this through the microchip company.
- Harness labels: for dogs that wear harnesses, add a tag or write your phone number on the harness with a permanent marker.
Paper and digital records
Prepare two versions of your pet’s records so you are not relying on a single copy.
- Printed packet:
- Vaccination history.
- List of chronic conditions and allergies.
- Current medications and doses.
- Microchip number and company.
- Contact details for your regular vet and nearest emergency clinic.
Store this in a waterproof sleeve in both your at-home kit and your evacuation bag.
- Digital backup:
- Take clear photos of all records and save them in a folder on your phone.
- Back them up to cloud storage or email them to yourself so you can access them if you lose your phone.
Photos and written description
If you are separated from your pet, you may need to prove ownership or create a lost-pet flyer quickly.
- Keep recent photos showing your pet from multiple angles.
- Write a short description including breed or mix, color, markings, approximate age, and any identifying features such as scars or unusual markings.
- Store a printed copy in your kit and a digital copy on your phone.
Special considerations for seniors, puppies and kittens, and pets on medication
Not all pets handle stress, heat, cold, or travel the same way. Adjust your kit for your pet’s life stage and health.
Senior dogs and cats
Older pets may have arthritis, reduced vision or hearing, and lower tolerance for temperature extremes.
- Extra padding: thicker bedding or a foam mat for hard shelter floors.
- Non-slip surfaces: small rugs or mats if your pet struggles on slick floors.
- Warmth and cooling: light blanket for warmth and a way to create shade or airflow in hot weather.
- More frequent rest breaks: plan for shorter walks and more time to settle if evacuating.
- Medication management: keep a clear schedule of when each medication is due and any special instructions (with food, avoid certain times, and so on).
Puppies and kittens
Young animals can dehydrate and chill faster and may not be fully vaccinated.
- Extra food: they often eat more frequently; pack enough of their specific puppy or kitten formula.
- Warmth: small fleece blanket or heat-safe pad (used with care to avoid overheating).
- Sanitation: more cleaning supplies for accidents and safe chew toys to reduce stress chewing.
- Vaccination status: keep proof of their current vaccines handy; some shelters or boarding facilities may have minimum requirements.
- Smaller gear: appropriately sized collars, harnesses, and carriers so they cannot slip out.
Pets on chronic medication or with special diets
If your pet relies on daily medication or a prescription diet:
- Ask your vet how much extra medication you can safely keep on hand.
- Store medications in your kit in original containers with clear labels.
- Keep a written dosing schedule and instructions for what to do if a dose is missed.
- Note any storage requirements (for example, if a medication needs refrigeration) and discuss backup options with your vet.
- For prescription diets, store a small reserve and rotate it regularly so it does not expire.
If your pet has complex needs, consider adding a short letter or summary from your vet describing their condition and emergency priorities.
Step-by-step process to build your pet emergency kit in one weekend
Use this simple process to go from “nothing prepared” to a working kit without feeling overwhelmed.
- List your pets and their needs.
- Write down each pet’s name, species, weight, diet, medications, and behavior notes.
- Decide whether you need one shared kit or separate bags for each pet.
- Gather what you already own.
- Pull together spare leashes, old but usable bowls, extra blankets, and any duplicate supplies.
- Set aside a small area on a table or floor as your “kit building zone.”
- Build the at-home kit first.
- Fill a sturdy bin with food, water, waste supplies, comfort items, and tools.
- Add printed records and photos in a waterproof sleeve.
- Assemble the grab-and-go bag.
- Choose a backpack or duffel you can carry while handling your pet.
- Pack smaller portions of food, water, medications, a first-aid pouch, and key documents.
- Label everything clearly.
- Use masking tape and a permanent marker to label each container with your name, phone number, and the pets it covers.
- Label carriers and crates in at least two places (top and side).
- Choose storage spots.
- Place the at-home kit in a cool, dry, easy-to-reach location.
- Keep the grab-and-go bag near your main exit or with your pet’s carrier.
- Set a reminder to review.
- Add a recurring reminder on your phone to check the kit every few months.
- Rotate food, water, and medications before they expire.
Practical packing list format and labeling tips
You can turn this guidance into a simple, reusable packing list that stays with your kit.
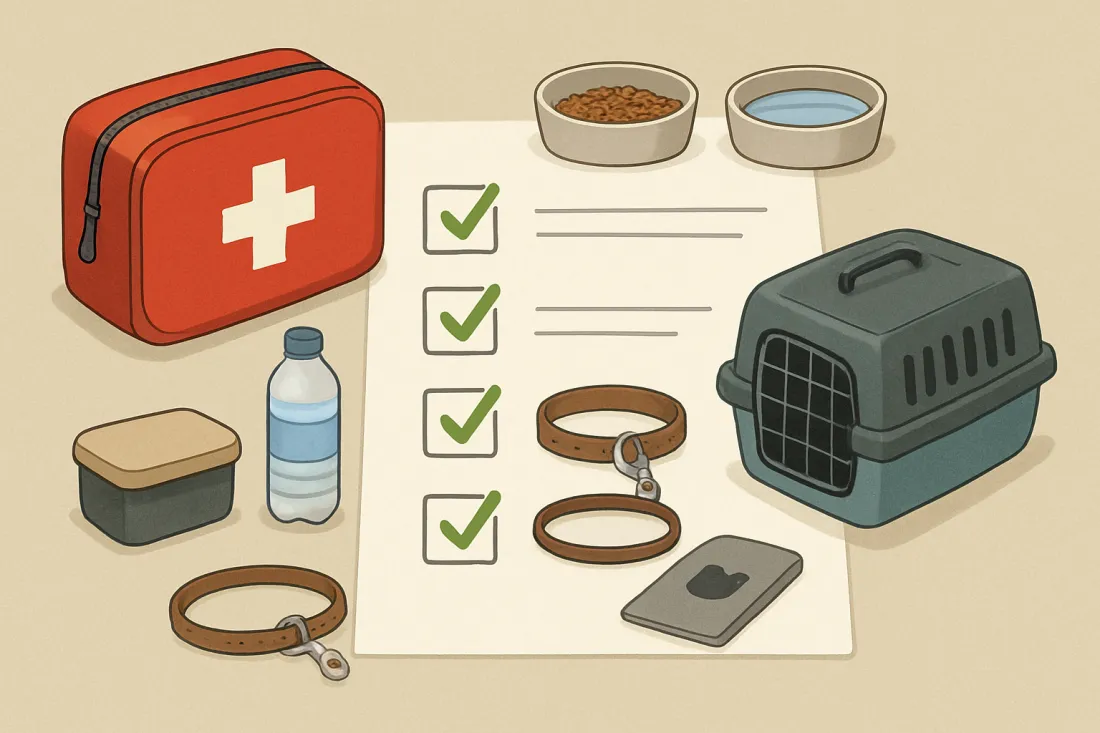
- Create a one-page list: group items into food and water, containment, comfort, health and hygiene, documents, and first-aid, and keep a printed copy inside the kit lid.
- Use simple markers: add a small box or symbol next to each item so you can quickly see what needs to be replaced or updated during your regular review.
- Color-code for multiple pets: use one color marker or tape for each pet on medication bags, feeding instructions, and carriers.
- Label by function: mark bags or pouches as “Food,” “Medications,” “First Aid,” and “Documents” so you can grab what you need without digging.
- Include a date: write the last update date on the outside of the kit and bag so you know when to review again.
- Keep a digital copy: store a photo or file of your list on your phone so you can rebuild the kit easily if you ever need to.
If you already maintain routines like a daily care routine for indoor cats, add “check emergency kit” to your seasonal or quarterly pet care tasks.
Common mistakes to avoid when making a pet emergency kit
Avoid these frequent problems so your kit actually helps when you need it.
- Using unfamiliar food: switching brands suddenly during a stressful event can cause stomach upset. Stick to your pet’s regular diet whenever possible.
- Forgetting medications: many owners pack food and water but overlook chronic medications or preventives.
- Letting supplies expire: food, treats, and medications can go out of date. Use your phone reminders to rotate items.
- Overpacking the evacuation bag: a bag that is too heavy to carry while handling your pet is not practical. Prioritize essentials.
- Ignoring behavior and stress: anxious pets may bolt or refuse to eat. Include secure leashes, well-fitting harnesses, and familiar comfort items.
- Not practicing with carriers: if your pet only sees the carrier during vet visits, they may resist entering it in an emergency. Practice calm, positive carrier time in advance.
- Storing the kit where you cannot reach it: avoid attics or deep storage areas. In a fire or fast evacuation, you need to grab it in seconds.
- Relying only on digital records: phones can lose power or signal. Always keep printed copies of key records in your kit.
Decision criteria: how much to pack and what to prioritize
You do not need a perfect kit; you need one that fits your home, your pets, and your likely risks. Use these criteria to decide how much to store and what to prioritize.
- Local risks: if you live in a hurricane, wildfire, or blizzard-prone area, aim for more days of supplies at home and a more robust evacuation bag.
- Number and size of pets: large dogs and multi-pet households need more space and supplies; you might use a rolling bin or suitcase.
- Transportation: if you rely on public transit or do not have a car, prioritize lightweight, compact items and carriers you can carry safely.
- Storage space: in small apartments, focus on the most critical items (food, water, medications, documents, leash, and carrier) and store them together.
- Health status: pets with medical needs may require more space for medications and special food, which should take priority over extra toys or bulky items.
- Budget and time: if you cannot buy everything at once, start with a three-day supply of food, water, and medications, plus identification and a carrier, then add items month by month.
If you are unsure where to start, begin with a modest supply and build up gradually. A small, well-thought-out kit is far better than waiting for the “perfect” setup and having nothing when an emergency hits.
FAQ about making a pet emergency kit for dogs and cats
How often should I update my pet emergency kit?
Check your kit at least a few times a year. Rotate food, treats, and medications before they expire, and update documents whenever your pet’s vaccines, address, or phone number change.
Can I share my own emergency water and food with my pet?
You can share stored water, but it is safer to keep your pet on their usual food to avoid stomach upset. If you must change food suddenly, introduce it gradually if time allows and watch for vomiting or diarrhea.
Do indoor-only cats really need an emergency kit?
Yes. Indoor cats may still need to evacuate for fires, storms, or building issues. A carrier, litter supplies, and familiar bedding can make a stressful situation much safer and more manageable.
What if my pet is very anxious or aggressive around strangers?
Include a well-fitting muzzle for dogs that may bite when stressed and clear behavior notes in your documents. Practice using the muzzle calmly at home. For cats, a covered carrier and familiar blanket can reduce fear.
What should I do after building the kit?
Walk through a simple home evacuation drill with your pets so you know how long it takes to crate them, grab the bag, and reach your vehicle or exit. Then set reminders to review the kit regularly and update it as your pets age or their health needs change. Once your kit is in place and maintained, you will be better prepared for both major disasters and everyday emergencies that affect your dogs and cats.