
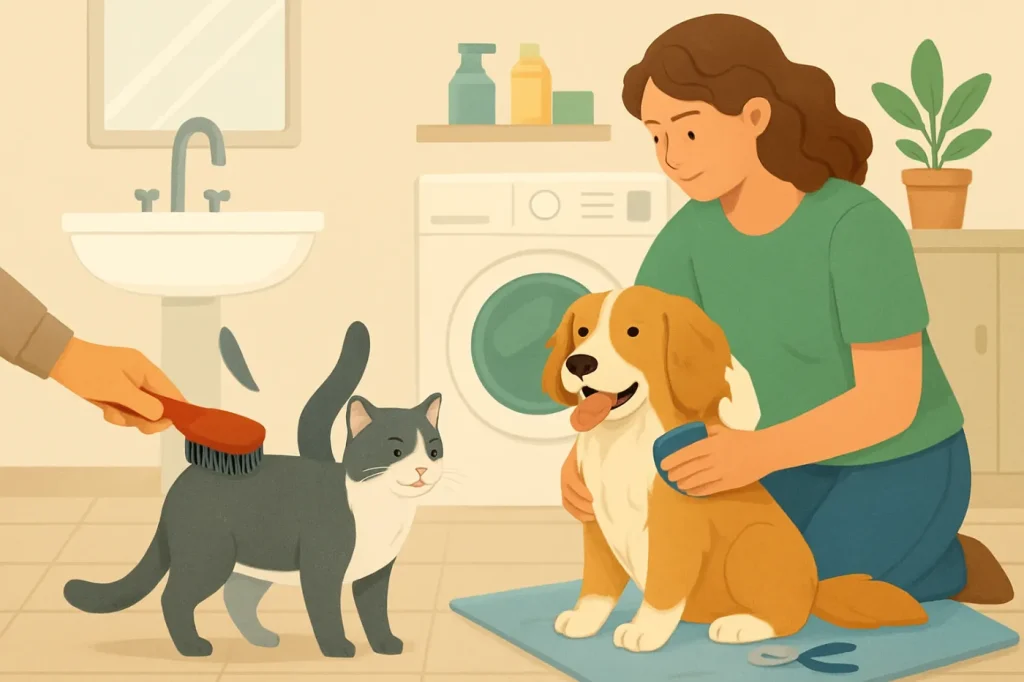
Most dog and cat owners can safely handle a big chunk of grooming at home and cut their grooming bills without cutting corners on care. The key is knowing which tasks are DIY-friendly, which tools are worth buying once, and when you should stop and call a groomer or vet.
At a minimum, most owners can learn to:
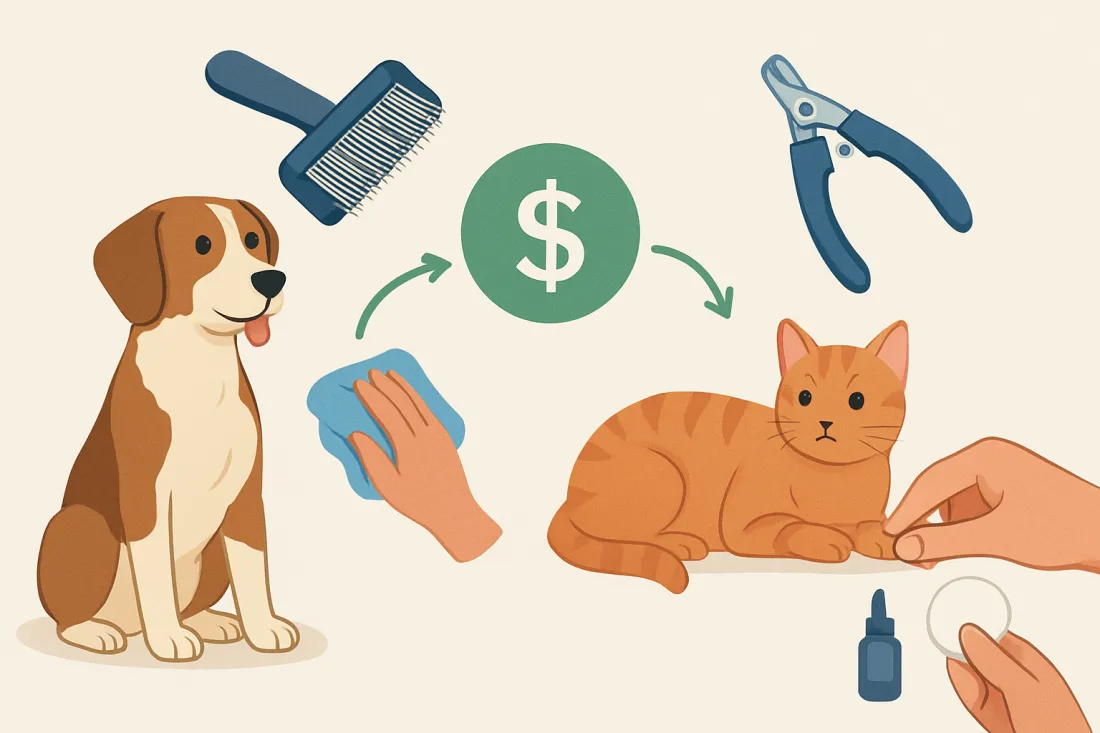
- Brush their dog or cat regularly to control shedding and prevent mats
- Give basic baths to dogs (and the rare cat who tolerates it)
- Wipe paws, faces, and rear ends between deeper cleans
- Trim nails safely for many pets, or at least keep them used to paw handling
- Check ears, skin, and teeth so problems are caught early
Professional grooming is still important for some breeds, coat types, and medical issues, but you can often move from “full-service every month” to “occasional touch-ups” if you build a simple home routine.
Home grooming vs. professional grooming: where you can really save
Grooming costs fall into two buckets:
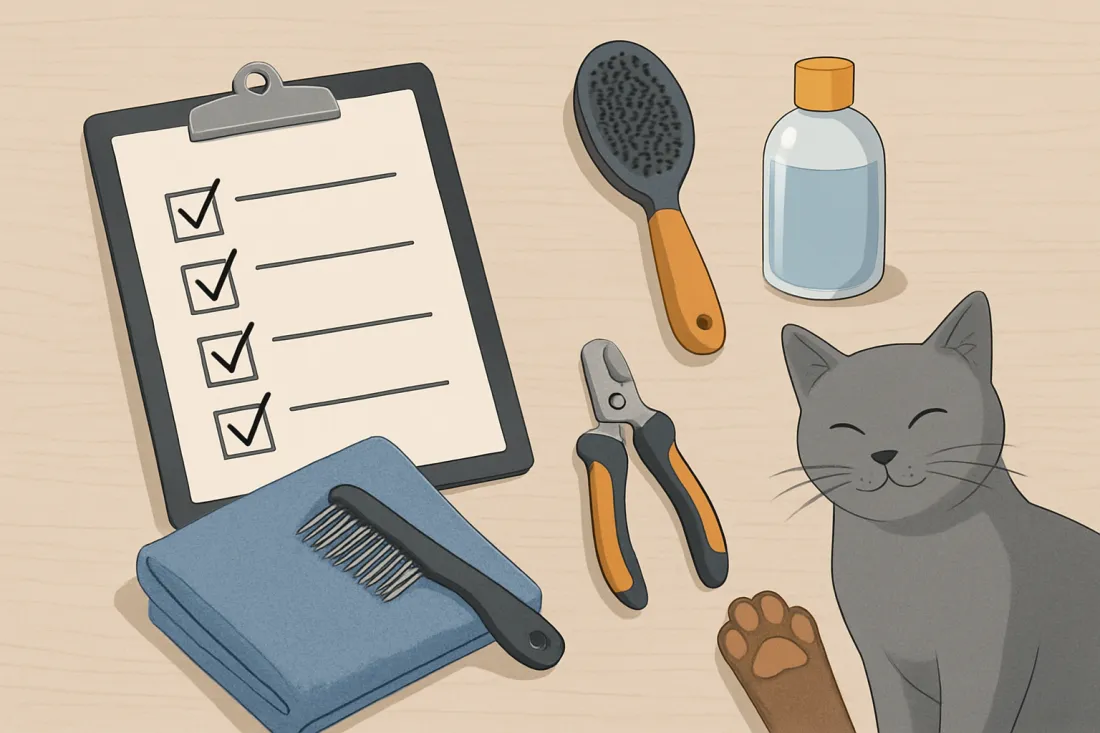
- One-time or rare costs – tools and equipment you buy once and use over time
- Recurring costs – grooming appointments and consumables like shampoo or wipes
For most households, the biggest savings come from replacing some recurring appointments with home care, not from buying the absolute cheapest tools. A safe, mid-range clipper or nail tool that lasts is usually more budget friendly than a bargain tool that breaks or causes an injury.
Comparison: mostly DIY grooming vs. relying on the groomer
| Approach | Best for | What you still pay for | Main risks | Effect on your budget |
|---|---|---|---|---|
| Mostly DIY with occasional pro visits | Healthy pets with manageable coats; owners willing to learn basic skills | Tools up front; occasional professional grooming or vet nail trims | Over-trimming nails, clipper burns, missed health issues if you rush | Higher cost in the first months (tools), then lower monthly costs over time |
| Regular full-service groomer visits | High-maintenance coats, show cuts, or owners unable to groom at home | Frequent grooming appointments; minimal tools at home | Appointment delays, stress for fearful pets, higher long-term spending | Predictable but higher recurring expense; less time investment from you |
| Minimal grooming (not recommended) | None – this is a red flag scenario | Occasional emergency vet or groomer visits when problems build up | Mats, overgrown nails, skin infections, pain, and higher medical costs | Looks cheap at first, but often leads to big, stressful bills later |
Responsible pet ownership means planning for grooming as a normal, ongoing cost. If you manage the basics at home, you can often reserve professional help for:
- Haircuts and breed-specific styles
- Severe mats or impacted undercoat
- Anal gland expression, if your vet recommends it
- Pets who are aggressive, extremely fearful, or medically fragile
Basic home grooming for dogs: step-by-step essentials
Most dogs need a simple routine that covers brushing, nail care, baths, and quick checks. Adjust the frequency based on coat type and lifestyle (see the schedule checklist later).
Step 1: Brushing your dog
Brushing is the cheapest, most effective grooming task you can do at home. It reduces shedding, prevents mats, and helps you spot skin issues early.
- Pick the right brush for your dog’s coat
- Short, smooth coats (Beagle-type): rubber curry brush or grooming glove
- Medium double coats (Labrador, Husky mixes): slicker brush plus an undercoat rake
- Long or curly coats (Poodle mixes, Shih Tzu): slicker brush plus a metal comb
- Make it positive
- Start with a few strokes, then reward with a treat
- Keep early sessions under 5 minutes so your dog does not get overwhelmed
- Brush with and then against the lay of the coat (if your dog tolerates it)
- Use gentle pressure; if the skin moves a lot, you are pressing too hard
- For long coats, work in small sections and finish each section with a comb to check for hidden tangles
- Check “problem zones”
- Behind ears, under collar, armpits, tail base, and between back legs
- If you hit a tangle, hold the hair above the knot so you are not pulling the skin, then gently work it out with the comb
Stop and call a groomer if you find large, tight mats close to the skin, especially in sensitive areas. Trying to cut them out at home is a common and dangerous mistake.
Step 2: Trimming your dog’s nails
Nail care is where many owners feel nervous, but with the right approach you can often maintain nails at home or at least keep your dog comfortable between professional trims.
- Choose a tool you can control
- Guillotine or scissor-style clippers for many dogs
- Grinding tools (with a guard) if you are worried about cutting too short
- Get your dog used to paw handling first
- Touch a paw, treat. Hold a paw, treat. Tap the nail with the tool (off), treat.
- Practice for a few days before you actually trim.
- Trim a tiny bit at a time
- On light nails, stop when you see a pinkish oval (the quick) approaching.
- On dark nails, trim small slivers and look at the cut surface; stop when you see a grayish or darker center.
- Keep styptic powder or cornstarch nearby
- If you nick the quick, press the powder firmly onto the tip until bleeding stops.
- Stay calm; most minor quick cuts look worse than they are.
Stop and use a professional if your dog panics, snaps, or if nails are extremely overgrown and curling into the pads. A vet or experienced groomer can safely reset the length.
Step 3: Bathing your dog on a budget
Healthy dogs usually do not need frequent full baths, especially if you brush regularly. Over-bathing can dry the skin and increase itching.
- Use a pet-safe shampoo
- A mild, unscented dog shampoo is usually enough for most pets.
- Avoid human shampoos; they are not balanced for canine skin.
- Prepare the space
- Use a non-slip mat in the tub or shower.
- Gather shampoo, cup or sprayer, towels, and treats before you start.
- Wet, lather, and rinse thoroughly
- Use lukewarm water, starting at the shoulders and working back.
- Avoid getting water and soap directly in eyes and ears.
- Rinse until the water runs completely clear; leftover shampoo can cause itching.
- Dry completely
- Towel dry, then air-dry or use a pet-safe dryer on a low, cool setting.
- Brush again once dry to remove loose hair.
For quick cleanups between baths, use a damp cloth or pet wipes on paws, belly, and rear instead of a full bath.
Basic home grooming for cats: step-by-step essentials
Cats usually keep themselves fairly clean, but they still benefit from regular brushing, nail trims, and mat prevention. Long-haired cats especially need human help to avoid painful tangles.
Step 1: Brushing your cat
- Choose a gentle tool
- Short-haired cats: rubber brush or grooming glove
- Long-haired cats: soft slicker brush plus a wide-tooth comb
- Keep sessions short and sweet
- Start with 1–2 minutes while your cat is relaxed.
- Focus on areas they enjoy, like cheeks and back, before moving to sides and belly.
- Check mat-prone areas
- Behind ears, armpits, belly, and under the tail.
- If you find a small mat, hold the fur above it and gently pick it apart with a comb.
Never cut mats near the skin with scissors. Cat skin is thin and easy to cut. Large or tight mats should be handled by a groomer or vet.
Step 2: Trimming your cat’s nails
Nail trims protect your cat from snagging claws and protect your furniture and skin.
- Get your cat used to paw handling
- Gently press a toe so the claw extends, then release and reward.
- Repeat in short sessions until your cat tolerates it calmly.
- Use small, sharp cat nail clippers
- Human nail clippers can crush the claw if they are dull or the wrong size.
- Trim only the clear tip
- On light claws, avoid the pink quick.
- On dark claws, take off just the sharp hook at the end.
- Do a few claws at a time
- Many cats will only tolerate 2–4 claws per session.
- That is fine; spread the trim over a couple of days.
If your cat becomes very stressed, hisses, or tries to bite, stop and ask your vet or groomer about safe options. For some cats, a quick professional trim is less stressful overall.
Step 3: Preventing mats and hairballs
- Brush more often during shedding seasons to remove loose undercoat before it tangles.
- Check under collars or harnesses for hidden mats.
- Talk to your vet if your cat suddenly stops grooming, develops many mats, or has frequent hairballs; this can signal pain or illness.
When you should always use a professional groomer or vet
Budget-friendly grooming does not mean doing everything yourself. There are clear situations where professional help is safer and ultimately cheaper than risking an injury or making a problem worse.
- Severe matting
- Large, tight mats close to the skin
- Mats around eyes, ears, genitals, or armpits
- Matted cats or dogs who are painful to touch
- Medical skin issues
- Open sores, hot spots, or oozing skin
- Thick crusts, bald patches, or strong odor
- Any rash that appears after a new shampoo or product
- High-risk pets
- Very old pets or those with heart, breathing, or seizure disorders
- Pets who need sedation to be safely groomed
- Complex haircuts
- Breed-specific clips (poodles, terriers, show coats)
- Any style that requires precise clipper work near eyes or genitals
- Behavior concerns
- Pets who have bitten during grooming
- Extreme fear that does not improve with slow training
In these cases, a groomer or vet has the training, tools, and sometimes medical support to keep your pet safe. Trying to push through at home can lead to injuries, fear, and higher vet bills.
How to choose budget-friendly but safe grooming tools
You do not need a professional salon setup, but you do need tools that are safe, durable, and appropriate for your pet’s coat.
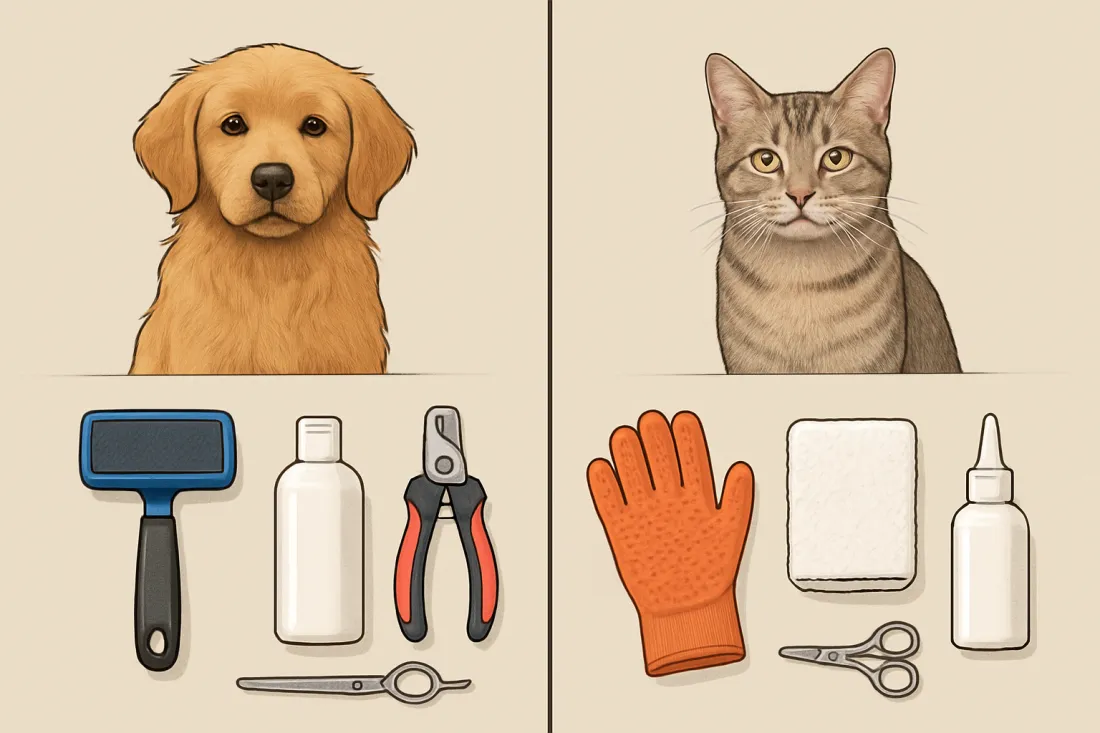
Core tools most dog and cat owners should consider
- Brush or grooming glove matched to coat type
- Metal comb for long-haired dogs and cats to find hidden tangles
- Nail clippers or grinder sized for your pet
- Pet-safe shampoo (and possibly conditioner for long coats)
- Non-slip mat for the tub or grooming area
- Soft towels or a pet-safe dryer
Decision criteria for buying tools on a budget
- Safety over ultra-low price
- Avoid tools with rough edges, loose parts, or strong chemical smells.
- Check that clippers and grinders have guards or guides if you are a beginner.
- Fit for your pet’s size and coat
- Small clippers for cats and toy breeds; sturdier tools for large dogs.
- Undercoat rakes only for double-coated breeds; they can damage single coats.
- Ease of cleaning
- Brushes and combs should be easy to remove hair from and wash.
- Clippers should allow you to remove hair from blades and vents.
- Realistic usage
- Do not buy a full clipper set if you only plan to brush and bathe.
- Start with a basic kit and add tools only if you actually need them.
For multi-pet households, it can help to plan grooming costs alongside food, vet care, and supplies. A resource like a multi pet household budget template can make it easier to see where grooming tools fit into your overall pet spending.
Home grooming schedule checklist by coat type and lifestyle
Use this structured checklist as a starting point. Adjust based on your pet’s health, how dirty they get, and any advice from your vet or groomer.
Dog grooming schedule checklist
- Short, smooth coat (e.g., Beagle-type)
- Brushing: 1–2 times per week
- Nail check/trim: every 2–4 weeks
- Bath: every 1–3 months, or as needed for odor/dirt
- Ear check: weekly
- Medium or double coat (e.g., Labrador, Husky mixes)
- Brushing: 2–4 times per week; daily during heavy shedding
- Nail check/trim: every 2–4 weeks
- Bath: every 1–2 months, or after very dirty adventures
- Ear check: weekly, especially for floppy ears
- Long or curly coat (e.g., Doodle, Shih Tzu)
- Brushing and combing: at least every other day
- Nail check/trim: every 2–3 weeks
- Bath: every 3–6 weeks, often paired with a professional trim
- Ear check: weekly, more often if hair grows in the ear canal
Cat grooming schedule checklist
- Short-haired indoor cat
- Brushing: 1–2 times per week
- Nail check/trim: every 3–4 weeks
- Bath: rarely, usually only if advised by a vet
- Ear and coat check: weekly
- Long-haired or thick-coated cat
- Brushing and combing: at least 3–4 times per week; daily if prone to mats
- Nail check/trim: every 2–4 weeks
- Bath: only if recommended by a vet or groomer
- Mat check: every few days, especially belly and armpits
Set reminders on your phone or calendar so grooming becomes a normal part of life, not a crisis when your pet is already matted or uncomfortable.
Handling fearful pets and knowing when to stop for safety
Many dogs and cats are unsure about grooming at first. Pushing through fear to “get it done” is a common mistake that can turn a manageable pet into one who panics at the sight of a brush.
Gentle approach for anxious pets
- Go at your pet’s pace
- Break grooming into tiny steps: show the brush, touch with the brush, one stroke, then reward.
- End sessions before your pet reaches their limit.
- Use high-value rewards
- Offer small treats, praise, or a favorite toy during and after grooming.
- For cats, use gentle petting and short play sessions as rewards.
- Choose a calm environment
- Groom on a non-slip surface in a quiet room.
- Avoid loud dryers or clippers at first; let your pet hear them from a distance before using them.
Signs you should pause or stop
- Growling, hissing, or snapping
- Stiff, tense body and wide eyes
- Panting heavily (when not hot), drooling, or trying desperately to escape
- Shaking, hiding, or refusing to come near the grooming area next time
If you see these signs, stop, give your pet space, and try again another day with a smaller step. If fear stays intense, talk to your vet or a qualified trainer or behavior professional about desensitization and whether certain tasks should be left to a groomer.
Making your home safe and calm also helps. If you are preparing for a new dog, a guide on how to pet proof your home and yard can help you set up a low-stress environment before you even start grooming.
Decision checklist: is this grooming task safe to do at home?
Use this quick decision checklist before starting any new grooming task:
- Health check
- Is your pet generally healthy and acting normal?
- Any open wounds, severe itching, or sudden behavior changes? If yes, contact your vet first.
- Coat and condition check
- Are there only small tangles you can separate with a comb, or are there large, tight mats?
- Is the skin visible and healthy where you plan to groom?
- Tool check
- Do you have a pet-safe tool suited to your pet’s size and coat?
- Is it clean, sharp (for clippers and scissors), and in good condition?
- Skill and comfort check
- Have you watched or been shown how to do this task safely?
- Can you stop and seek help if something feels wrong?
- Behavior check
- Has your pet tolerated similar handling before?
- Do you have a plan to keep sessions short and positive?
If you answer “no” to several of these questions, consider asking your vet or groomer to demonstrate the task or handle it for you the first time.
Common mistakes in budget home grooming to avoid
- Waiting until your pet is severely matted before seeking help, which can turn a simple brush-out into a full shave or even a medical issue.
- Using human products like shampoo or clippers that are not designed for pets, which can irritate skin or cause injuries.
- Rushing nail trims and cutting too short because you are trying to do all nails in one session.
- Ignoring early signs of discomfort such as flinching, growling, or hiding, instead of slowing down and rebuilding trust.
- Skipping regular checks for ears, teeth, and skin because they do not look dirty yet; early problems are often easier and cheaper to treat.
- Choosing tools only by price without checking safety, size, and feedback from experienced pet owners or professionals.
FAQ: quick fixes for common grooming problems
How can I reduce shedding at home without expensive tools?
Focus on consistent brushing with a tool that matches your pet’s coat. For most short-haired dogs and cats, a rubber brush or grooming glove used a few times a week pulls out loose hair before it ends up on your furniture. For double-coated dogs, add an undercoat rake during heavy shedding seasons. Combine brushing with simple steps like washing bedding regularly and using a damp cloth or pet wipe to pick up loose hairs on the coat between brushes.
What is the safest way to deal with minor mats on a budget?
For small, early mats, use a metal comb and your fingers instead of scissors. Hold the fur above the mat so you are not pulling the skin, then gently tease the tangle apart in tiny sections, working from the ends toward the skin. Keep sessions short and reward your pet often. If the mat is tight, close to the skin, or your pet seems painful, stop and book a groomer; trying to cut it out at home is a common cause of accidental cuts.
How do I clean muddy or dirty paws without a full bath?
Keep a small “paw station” by the door with a towel, a shallow container of lukewarm water, or pet-safe wipes. When your dog comes in, have them stand on a mat and clean each paw one at a time, paying attention to the spaces between the toes and pads. For cats, use a damp cloth or pet wipe to gently clean dirty paws or fur. Dry thoroughly afterward so moisture does not sit between the toes, which can irritate the skin.
What should I understand about budget friendly dog and cat grooming at home?
Understand that budget-friendly grooming is about consistent, gentle maintenance rather than fancy haircuts. Regular brushing, basic nail care, and quick checks of ears and skin prevent many problems that lead to big grooming or vet bills. You will have some up-front costs for safe tools, but you can often reduce how often you need full-service appointments. Just as important, know your limits and plan to use a professional for severe mats, medical issues, or complex clips.
What mistakes should I avoid when grooming my pet at home?
Avoid forcing a terrified pet to “get through it,” using human shampoos or dull tools, and trying to cut out mats with scissors. Do not wait until nails are curling into the pads or fur is one solid mat before seeking help. Skipping regular brushing and checks may feel like a time-saver, but it usually leads to more stress and expense later. When in doubt, pause, reassess your tools and technique, and ask your vet or groomer for guidance.
What should I do next after learning these home grooming basics?
Pick one or two grooming tasks to start with, such as brushing and checking nails, and add them to your weekly routine. Set reminders so they become habits. If you are planning to adopt a new pet, reading about home visit requirements for dog adoption can help you think through grooming and other ongoing responsibilities before you bring a pet home. Over time, you can decide which tasks you are comfortable doing yourself and which you prefer to leave to a professional.
Conclusion: combining home care with occasional professional help
Budget-friendly grooming at home is about sharing the workload with your groomer or vet, not replacing them completely. By brushing regularly, handling basic nail care, and keeping an eye on your pet’s skin and coat, you can:
- Reduce how often you need full-service grooming
- Catch problems early, when they are often easier and cheaper to treat
- Help your pet feel more comfortable and confident during any grooming
Use the schedules and checklists here as a starting point, adjust for your pet’s needs, and do not hesitate to ask professionals to show you safe techniques. With a little practice and the right tools, home grooming becomes a normal, low-stress part of caring for your dog or cat—and a practical way to keep your overall pet budget under control.