How to pass a cat adoption home visit on the first try
To pass a cat adoption home visit, you need to show two things: that your home is reasonably safe for a cat and that you have a realistic long-term plan for care. You do not need a perfect, spotless house. You do need:
- Basic safety: secure windows and balconies, no obvious escape routes, no exposed wires or dangerous chemicals within easy reach.
- A clear setup plan: where the litter box, food and water, and scratching areas will go, and whether the cat will be indoor-only or indoor/outdoor.
- Stable housing: written proof that pets are allowed if you rent or have an HOA, and that everyone in the household agrees to the adoption.
- Realistic expectations: understanding of costs, time, and behavior (scratching, accidents, hiding at first).
If you can calmly walk an inspector (in person or on video) through these points and your home is reasonably tidy and safe, you are already in good shape.
What a cat adoption home check is and when it is required
A home check (or home visit) is a brief review of your living situation by a rescue or shelter before they approve your adoption. It is not a white-glove inspection or a test of your decorating style. Most organizations use home checks to:
- Confirm that your home is safe for a cat.
- Match the right cat to your lifestyle (busy household vs quiet, kids vs no kids, apartment vs house).
- Verify that you are allowed to have pets where you live.
- Talk through any concerns in a relaxed, real-world setting.
Home checks are more common when:
- You are adopting from a foster-based rescue rather than a large municipal shelter.
- The cat has special needs (medical, behavioral, or is very shy).
- You are a first-time pet guardian and the group wants to offer extra support.
- You rent, live in a condo, or have shared outdoor spaces where rules can be strict.
Some shelters skip home visits and rely on interviews and paperwork. Others do virtual-only checks. If you are unsure, ask early in the process so you can prepare.
Comparing in-person and virtual cat adoption home checks
Many U.S. rescues now offer both in-person and virtual home visits. The goal is the same, but how you prepare and what they can see will differ.
| Aspect | In-person home visit | Virtual home visit |
|---|---|---|
| Typical duration | Roughly 20–45 minutes, depending on questions and home size. | Often 15–30 minutes, since walking and camera setup can be quicker. |
| What they can check closely | How doors and windows latch, smells (smoke, chemicals), behavior of other pets, overall feel of the home. | Layout of rooms, obvious hazards (open windows, cluttered balcony, loose cords), where cat supplies will go. |
| What you should prepare | Tidy main rooms, clear walking paths, have documents ready on a table, secure pets if needed. | Charge your phone, test your video app, turn on lights, clear camera paths through each room. |
| Common challenges | Nervous pets or kids, feeling watched in your own space, last-minute clutter. | Shaky camera, poor lighting or Wi‑Fi, forgetting to show small but important areas (under sinks, balcony edges). |
| How to make it smoother | Do a quick run-through 30–60 minutes before, leash or separate reactive pets, keep documents in one folder. | Practice a short video walk-through, close unrelated apps, and make a checklist of rooms to show. |
For both types of visits, honesty matters more than perfection. If something is not ready yet, explain your plan and timeline.
What inspectors typically look for: safety, space, and setup
Most home checkers use similar criteria. They want to see that you have thought about the cat’s daily life in your home.
Safety basics they expect to see
- Secure windows and balconies: Screens that fit snugly, no wide gaps, balcony railings that a cat cannot easily squeeze through or climb over.
- No obvious poisons within reach: Cleaning products, rodent poison, certain houseplants, and medications stored behind doors or up high.
- Electrical safety: No loose, frayed cords where a cat could chew; power strips not overloaded and easy to tuck away.
- Stable furniture: Bookcases and heavy items not wobbling or easily tipped if a cat jumps on them.
- Escape prevention: Doors that close properly, no broken latches, and a plan for how you will prevent door dashes.
Space and environment
You do not need a large house. Many cats thrive in studios and small apartments if they have vertical space and enrichment. Inspectors look for:
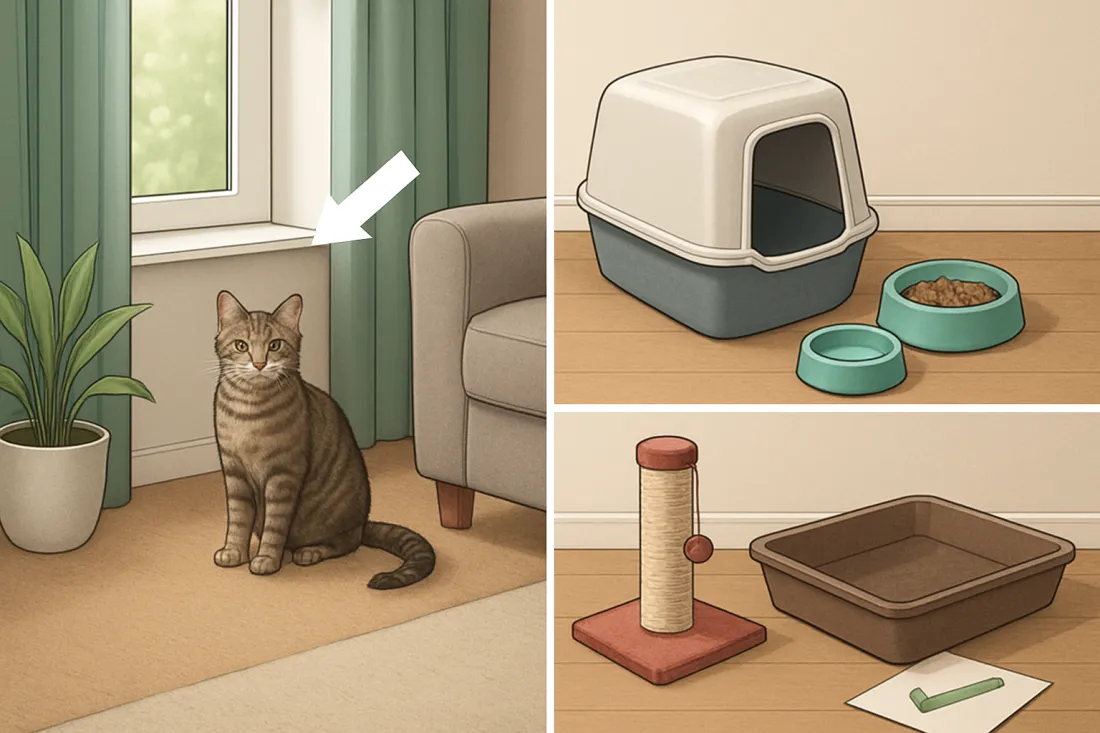
- Enough room for essentials: A litter box in a quiet spot, separate from food and water; a feeding area; a resting area.
- Places to hide and perch: A cat tree, shelves, or even the back of a couch near a window.
- Noise level: Not constant shouting, blaring TV, or chaos with no quiet retreat for the cat.
- Cleanliness: Lived-in is fine; extreme clutter, strong odors, or signs of pests can be a concern.
Setup and supplies
You do not always need to have everything purchased before the visit, but having at least a basic setup ready shows commitment:
- At least one litter box and litter type chosen.
- Food and water bowls (or a plan for a fountain).
- A scratching post or pad.
- A bed or soft resting spot.
- A carrier for vet visits and safe transport.
If you have not bought items yet, be ready to explain what you plan to get and where you will place them.
Room-by-room preparation guide for a cat home visit
Use this walkthrough to prepare your home before the inspector arrives or before you start a virtual tour.
Kitchen
- Secure trash: Use a bin with a lid or place it inside a cabinet to prevent rummaging and ingestion of harmful foods.
- Store chemicals safely: Dish soap, cleaners, and detergents should be in cabinets with doors that close fully. If you have child locks, that is a plus.
- Food safety: Avoid leaving raw meat, bones, or open food on counters where a curious cat could jump up.
- Stove and small appliances: Keep cords tidy and unplug small appliances when not in use if they are within easy reach.
- Feeding area: Choose a quiet corner away from foot traffic and the litter box. Be ready to point this out.
Living room
- Tidy loose items: Pick up small objects (rubber bands, hair ties, kids’ toys) that could be swallowed.
- Manage cords: Bundle or cover dangling blind cords and electrical wires.
- Provide scratching options: Place a scratching post or pad near the couch to show you have a plan besides scolding when the cat scratches.
- Create vertical space: A cat tree, window perch, or cleared shelf can demonstrate enrichment.
- Check plants: Move any potentially toxic plants out of reach or to a room the cat will not access, and mention that you have checked plant safety.
Bedrooms
- Clothing and strings: Keep strings, ribbons, and hair ties off the floor and surfaces where a cat might chew them.
- Under-bed hazards: Clear out sharp objects, plastic bags, or anything a hiding cat could get tangled in.
- Safe retreat: If you have kids or a busy household, designate one bedroom as a quiet space where the cat can retreat, especially during the first weeks.
- Windows: Check that screens close securely and there are no large gaps.
Bathroom
- Toilet lid: Keep it closed to avoid accidents, especially with kittens.
- Medications and cosmetics: Store in cabinets or high shelves, not on open counters.
- Cleaning supplies: Keep toilet cleaner, bleach, and other chemicals behind closed doors.
- Litter box option: If you plan to keep the litter box in the bathroom, show where it will go and how the door will stay open enough for the cat but not for toddlers or dogs if that is a concern.
Balcony, patio, and windows
- Secure railings and gaps: If you have a balcony, ensure there are no wide gaps a cat could slip through. If it is not fully cat-proofed yet, be upfront and explain your plan.
- Screen condition: Show that window screens fit tightly and are not torn or loose.
- Furniture placement: Avoid placing tall furniture right next to balcony railings where a cat could jump over.
- Outdoor plants and chemicals: Store fertilizers, pesticides, and sharp tools out of reach.
Entryway and doors
- Door-dash prevention: Explain how you will prevent escapes when people come and go (for example, keeping the cat in a separate room at first, using baby gates, or being mindful with guests).
- Shoes and bags: Keep bags with medications, gum, or food zipped and off the floor.
- Leash and carrier storage: Having a spot for these shows you are thinking ahead about vet visits and emergencies.
Indoor-only vs indoor/outdoor cat homes: what really changes
Many rescues strongly prefer indoor-only homes, especially in urban and suburban areas. Others may allow supervised outdoor time or indoor/outdoor lifestyles in certain conditions. Your preparation and what you emphasize during the visit will differ.
| Decision point | Indoor-only cat home | Indoor/outdoor cat home |
|---|---|---|
| Main safety focus | Prevent escapes, remove indoor hazards, and provide enough enrichment so the cat does not feel bored. | Make outdoor access as controlled as possible and reduce risks from cars, predators, and toxins; have a reliable way to bring the cat inside. |
| What inspectors usually want to hear | Plan for window screens, secure doors, and daily indoor playtime; understanding that the cat will stay indoors even if they try to bolt. | Plan for microchipping and ID tags, up-to-date vaccines, and how you will supervise or limit outdoor time. |
| Home setup highlights | Multiple scratching areas, perches, toys, and a cozy safe room for the first weeks. | Clear indoor “base camp” (food, litter, bed) plus a specific, safe access point to yard or outdoor space. |
| Typical red flags | Open windows with no screens, a high balcony with big gaps, or saying you will “probably let them roam” without a plan. | Busy road nearby with no plan to keep the cat away, no ID, no vet plan, or assuming the cat will “just figure it out.” |
| How to reassure the inspector | Explain how you will keep windows closed or screened, enrich the environment, and manage doorways and guests. | Explain your yard layout, traffic level, supervision method (for example, harness, catio, or fenced area), and how you will bring the cat in at night. |
If the rescue has a strict indoor-only policy, do not argue for outdoor access during the home check. Instead, show how you will make indoor life stimulating and safe.
Red flags that can cause a failed cat home check
Most failures happen because of fixable issues or misunderstandings. Knowing common red flags helps you avoid them.
- No proof that pets are allowed: You rent or have an HOA but cannot show a lease clause, email, or letter confirming cats are permitted.
- Serious safety hazards: Wide-open windows with no screens, a high balcony with large gaps, or visible poisons left out.
- Unsupervised aggressive pets: Existing dogs or cats that show clear aggression toward people or other animals with no management plan.
- Extreme clutter or unsanitary conditions: Trash piled up, strong ammonia or mold smells, or signs of infestations.
- Unrealistic expectations: Saying you will declaw the cat when the rescue forbids it, expecting zero scratching or accidents, or planning to keep the cat outdoors full-time against their policy.
- Frequent moves or unstable housing: Planning to move very soon with no idea how you will manage the cat’s transition or whether the new place allows pets.
- Household disagreement: One partner or roommate clearly opposed to the adoption or unaware it is happening.
If any of these apply, address them before the visit or be ready with a concrete plan to fix them.
How to show you are prepared for indoor-only vs indoor/outdoor cats
Demonstrating readiness for an indoor-only cat
During the visit, highlight:
- Secure windows and doors: Show screens, explain how you will keep windows closed if they are not secure, and how you will manage front-door traffic.
- Enrichment plan: Talk about toys, scratching posts, window perches, and playtime you will provide. For example, you might plan two or three short play sessions a day.
- Safe introduction space: Point out the room where the cat will stay initially to adjust slowly.
- Routine: Describe feeding times, litter box cleaning, and how you will fit play and bonding into your schedule.
Demonstrating readiness for an indoor/outdoor cat
If the rescue allows some outdoor access, be specific about safety:
- Identification: Explain that you will use a collar with ID tag and a microchip, and keep contact information updated.
- Outdoor area: Describe your yard, fencing, and nearby roads. Emphasize if you are away from heavy traffic or plan to keep the cat in a fenced section.
- Supervision style: Mention if you will use a harness and leash, a catio, or supervised backyard time rather than unsupervised roaming.
- Health care: Show that you understand the need for regular vet visits, parasite prevention, and vaccines.
- Curfew: Many rescues like to hear that cats will be indoors at night when risks are higher.
If you are unsure what the rescue prefers, ask before the home visit so your plan aligns with their policies.
Structured home safety and readiness checklist
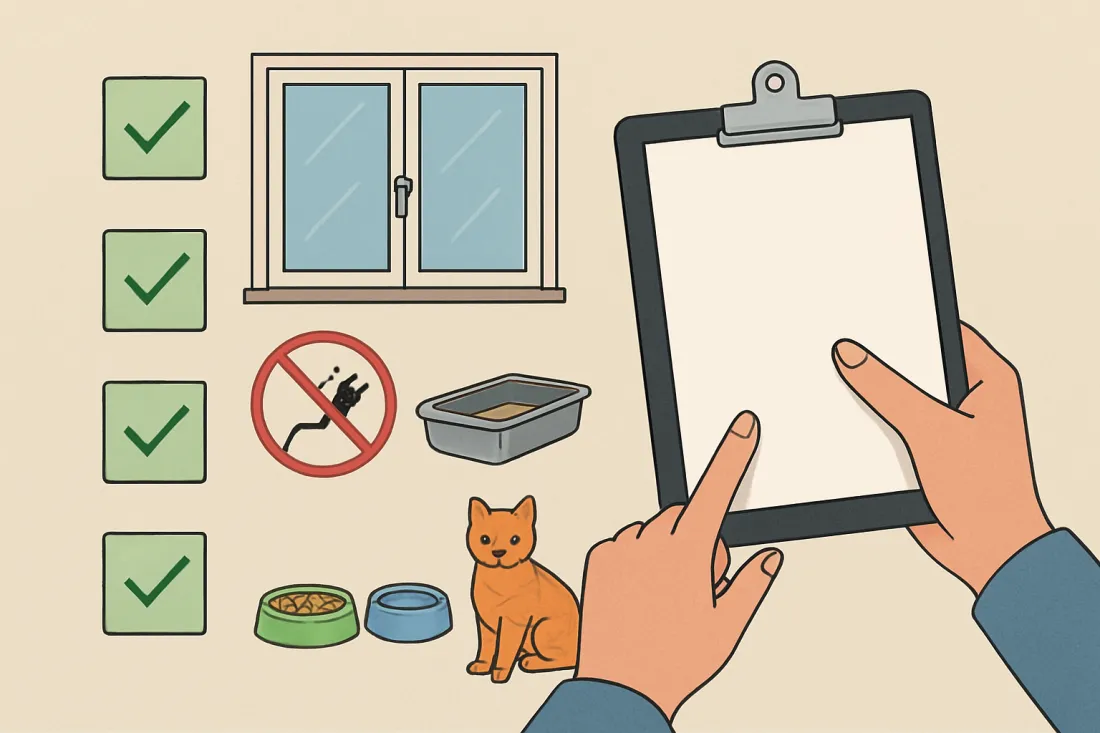
Use this structured checklist the day before your home visit or virtual inspection. Walk through each item and mark it off.
Home safety checklist
- All windows that will be opened have secure, intact screens with no tears.
- Balcony or patio railings have no large gaps a cat could slip through, and there is no furniture that would help a cat jump over the edge.
- Cleaning products, pesticides, and medications are stored in closed cabinets or on high shelves.
- Trash cans have lids or are inside cabinets, especially in the kitchen and bathroom.
- Electrical cords are not frayed and are bundled or tucked away where possible.
- No small swallowable items (rubber bands, hair ties, needles, tacks) are left on floors or low tables.
- Toilet lids are closed, and bathroom chemicals are put away.
- There are no open flames (candles, incense) left burning unattended.
- Heavy furniture such as bookcases feels stable when you gently push it.
Cat setup checklist
- You have at least one litter box and a quiet, accessible spot chosen for it, away from noisy appliances.
- Food and water bowls are ready, placed away from the litter box area.
- At least one scratching post or pad is set up where the cat is likely to scratch (near the couch or favorite chair).
- There is a soft bed or blanket in a calm area for the cat to rest.
- You have a carrier ready for transport and emergencies.
- You have chosen a “safe room” where the cat can stay for the first days or weeks while they adjust.
- You have at least a few toys ready (wand toy, balls, or puzzle feeder) for mental and physical stimulation.
Lifestyle and paperwork checklist
- Your lease, landlord email, or HOA rules clearly show that cats are allowed, and you can access this during the visit.
- All adult household members know about the adoption and agree to it.
- You have discussed who will feed the cat, clean the litter box, and handle vet visits.
- You have a basic monthly budget in mind for food, litter, and routine vet care, and you understand that emergencies can cost several times more than a routine visit.
- You know the rescue’s policies on indoor-only vs indoor/outdoor, declawing, and returning the cat if needed.
- You have a plan for vacations or long workdays (for example, pet sitter, friend, or family member who can help).
For a deeper safety walkthrough, you can also review a dedicated pet safety checklist for the home and adapt it for cats.
Handling landlord and HOA rules during a home check
Housing rules are a major reason applications are delayed or denied. Prepare this part carefully.
If you rent
- Confirm pet policy in writing: Check your lease for pet clauses. If it is unclear, ask your landlord or property manager for an email stating that cats are allowed.
- Know the limits: Be aware of any pet deposits, monthly pet fees, or limits on number of pets or weight, and be ready to explain how you will comply.
- Share your plan: If there are noise or damage concerns, explain how you will manage scratching and keep the cat indoors.
If you have an HOA or condo board
- Review HOA rules: Look for sections on pets, noise, and use of balconies or shared outdoor spaces.
- Clarify outdoor access: If you plan to let the cat on a balcony or shared yard, make sure this is allowed and safe.
- Be ready to show documentation: Have the relevant page or email handy during the visit if asked.
If your current housing does not allow pets, most rescues will not approve the adoption until that changes. It is better to resolve housing issues first than to hope they will not notice.
What to do if you do not pass a cat adoption home check
Failing a home check can feel discouraging, but it is often a temporary setback, not a permanent “no.” Many issues are fixable.
Step-by-step response if you do not pass
- Ask for specific feedback: Politely request a clear list of concerns so you know exactly what to change.
- Sort issues into quick fixes vs long-term: For example, buying a covered trash can is quick; moving to pet-friendly housing is long-term.
- Address safety hazards first: Secure windows, store chemicals, declutter dangerous areas, and fix any obvious escape routes.
- Document improvements: Take photos or short videos showing what you changed.
- Ask about re-evaluation: Many rescues are open to a second visit or updated virtual tour once issues are resolved.
- Consider whether the match is right: If the rescue’s requirements do not fit your situation, you may be better matched with another organization or a different type of pet later.
Use the experience as a checklist for future applications. The changes you make now will benefit any cat you eventually bring home.
Common mistakes to avoid during a cat adoption home visit
Avoid these pitfalls that can create doubt, even if your home is basically safe.
- Being defensive or argumentative: If you disagree with a suggestion, ask questions and explain your perspective calmly instead of pushing back.
- Minimizing concerns: Saying “It is fine, my last cat survived” when they point out a hazard suggests you may ignore safety advice.
- Overpromising: Claiming you will never leave the cat alone or that you will play with them for hours every day can sound unrealistic.
- Hiding information: Not mentioning other pets, kids, or upcoming moves can damage trust if it comes out later.
- Not preparing at all: Leaving obvious hazards out, having no idea where the litter box will go, or not knowing the rescue’s basic policies.
- Focusing only on appearance: A spotless home with unsecured windows and no plan for the cat is less convincing than a normal home with thoughtful safety measures.
Decision checklist: are you ready for the home visit?
Before you confirm the visit time, run through this decision checklist:
- Have you walked through each room at “cat level” to spot hazards?
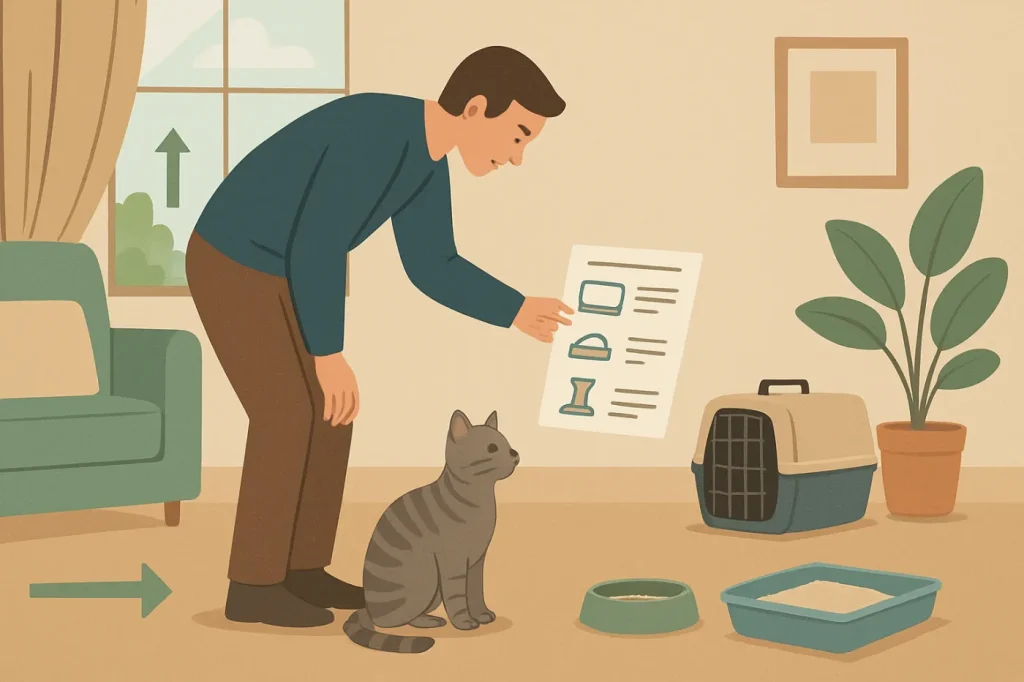
- Can you clearly explain where the cat will eat, sleep, and use the litter box?
- Do you understand and accept the rescue’s policies (indoor-only, no declawing, vet care expectations)?
- Do you have written proof that pets are allowed where you live?
- Have you talked with all household members about roles and expectations?
- Do you have a basic budget and plan for routine vet care and emergencies, knowing that emergency care can cost several times more than a routine visit?
- Are you prepared to answer questions about your schedule, travel, and how you will care for the cat when you are away?
If you can confidently say “yes” to most of these, you are likely ready. If not, take a few days to prepare before scheduling the visit. For a broader overview of what many organizations look for, you can also read about a general home visit for pet adoption what to expect and adapt the guidance to cats.
FAQ about passing a cat adoption home visit
What should I understand about how to pass a cat adoption home visit?
You should understand that the visit is about safety, stability, and fit, not perfection. Rescues want to see that your home is reasonably safe, that you have a plan for the cat’s daily life, and that everyone in the household supports the adoption. Passing usually comes down to secure windows and doors, safe storage of chemicals and small objects, a clear spot for the litter box and food, and honest, thoughtful answers about your lifestyle and expectations.
What mistakes should I avoid during a cat adoption home check?
Avoid arguing with the inspector, hiding information about your housing or other pets, and brushing off safety concerns. Do not leave obvious hazards like open windows without screens, toxic products on the floor, or unstable balconies unaddressed. Also avoid promising things you cannot realistically maintain, such as never leaving the cat alone. Instead, show that you have thought through real-life scenarios and are willing to make improvements.
What should I do next after preparing for the cat adoption home visit?
Once you have prepared your home and gathered any needed documents, confirm the visit time and format (in-person or virtual) with the rescue. Walk through your home once more using the safety checklist, then relax and be yourself during the visit. Afterward, follow up promptly if they suggest changes or ask for additional information. While you wait for the decision, you can continue learning about adoption rules for households with kids by reviewing guidance on pet adoption requirements for families with children and adapting it to your situation.
Conclusion and reassurance
Passing a cat adoption home visit is less about having a picture-perfect home and more about showing that you are thoughtful, responsible, and willing to create a safe environment. If you secure basic hazards, plan where the cat will eat, sleep, and use the litter box, and communicate honestly with the inspector, you are already doing what most rescues hope to see. Even if you do not pass on the first try, the feedback you receive can guide simple changes that make your home safer and your future cat’s life better. With preparation, openness, and a genuine commitment to responsible pet ownership, you can turn the home visit into the first step of a long, happy life with your new cat.