Safe way to clean pet urine from hardwood floors
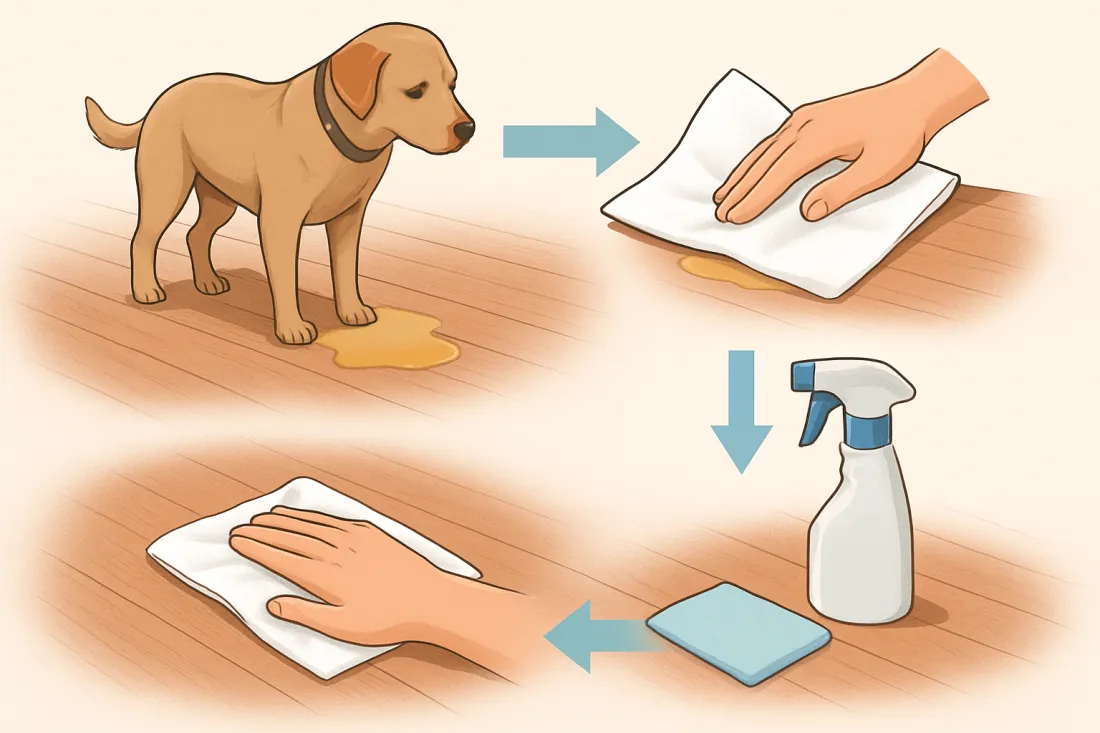
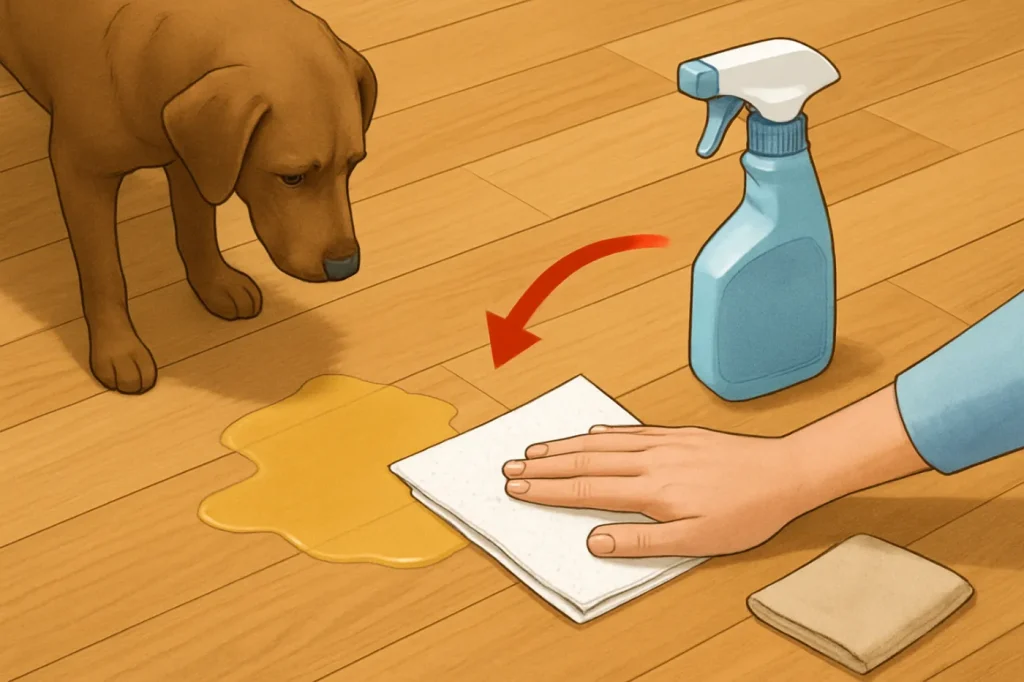
If your pet has an accident on hardwood, laminate, or tile, you can usually protect the floor if you act within 10–15 minutes and avoid soaking the surface. Basic safe routine for any hard floor:
- Contain the pet. Move them away so they do not track urine through another 20–30 square feet of flooring.
- Blot, do not rub. Use several layers of paper towel or a clean cloth and press firmly for 10–20 seconds at a time until almost dry.
- Clean with a floor-safe, pet-safe product. Use a cleaner labeled for your floor type; apply with a lightly damp cloth or mop, not by pouring.
- Limit moisture. On wood and laminate, the surface should never stay visibly wet for more than 2–3 minutes.
- Dry completely. Wipe with a dry cloth and, if needed, run a fan for 15–30 minutes to remove hidden moisture from seams.
- Treat odor. If any smell remains after drying, use an enzymatic pet odor remover that is compatible with hard floors.
This same logic works for urine, vomit, and diarrhea; the details change slightly by floor type and by how old the mess is.
How floor type changes the way you clean pet accidents
Overview of common hard floor types
Understanding what you are standing on is the first safety check before using any cleaner.
- Sealed hardwood – Solid or engineered wood with a clear finish. More resistant than bare wood but still sensitive to standing water and harsh chemicals.
- Unsealed or waxed hardwood – Older or specialty floors with oil or wax, or even bare wood. Liquids soak in quickly and can stain or warp.
- Laminate – A printed wood-look surface over a fiberboard core. The top layer is tough, but water in the seams can cause swelling and buckling.
- Luxury vinyl plank (LVP) or tile (LVT) – Often marketed as water-resistant. The surface handles moisture well, but urine can seep into gaps and edges if left too long.
- Ceramic or porcelain tile – Very durable. The main weak point is grout, which can absorb urine and hold odors.
- Natural stone tile (marble, travertine, limestone, etc.) – Porous and usually sealed. Acidic or abrasive cleaners can etch or dull the surface.
Quick checks to identify your floor finish
If you are unsure what you have, use these simple checks:
- Shiny, glassy look that feels smooth and hard usually means a sealed surface (polyurethane hardwood, laminate, or vinyl).
- Soft sheen and slightly waxy feel often indicates waxed wood.
- Visible pores or a chalky feel on tile can mean unsealed or worn grout or stone.
- Water test on a hidden spot: place 1–2 drops of water for 2–3 minutes. If the water beads, the finish is likely sealed; if it darkens the wood or stone quickly, it is more absorbent and needs extra care.
Knowing your floor type helps you choose cleaners that remove urine, vomit, or diarrhea without stripping finishes or causing warping.
Step-by-step cleaning by surface
Fresh pet urine on sealed hardwood
Use this process when the accident is less than about 30 minutes old and the wood has a clear, sealed finish.
- Block off the area.
Put your pet in another room for 5–10 minutes so they do not spread moisture or slip. - Blot thoroughly.
Place a thick layer of paper towels or a folded cloth over the puddle. Press down firmly with your hand or foot for 10–20 seconds. Replace and repeat until the towels come up mostly dry. - Lightly rinse the surface.
Dampen (do not soak) a soft cloth with cool water. The cloth should not drip when you squeeze it. Wipe the area once or twice to dilute remaining urine on the finish. - Clean with a wood-safe, pet-safe cleaner.
Use a cleaner labeled for hardwood floors and safe around pets. Spray it onto a cloth or microfiber pad—aim for a light, even mist over an area about 1–2 square feet. Wipe the affected spot. - Dry immediately.
Use a dry microfiber cloth to remove moisture. If the area still looks damp after 2–3 minutes, place a small fan nearby for 15–20 minutes. - Check for residue.
After drying, run your fingers lightly over the area. If it feels sticky or cloudy, wipe once more with a barely damp cloth and dry again.
Extra care for unsealed or waxed hardwood
Unsealed or waxed wood absorbs liquids quickly, so the goal is to remove moisture with as little liquid cleaning as possible.
- Blot immediately and aggressively.
Use thick, folded paper towels or a stack of cloths. Stand on them for 20–30 seconds to pull liquid out of the surface. Repeat until almost dry. - Avoid soaking the area.
Skip heavy rinsing. If you must use water, lightly mist a cloth (no visible drips) and gently wipe once, then dry right away. - Use a cleaner approved for waxed or oiled wood.
Check the product label for compatibility with waxed or oiled finishes. Apply sparingly with a cloth. - Inspect after drying.
Once dry, look for dark stains, raised grain, or a rough feel. If you see a dark patch larger than a quarter or feel noticeable swelling, urine may have penetrated and a flooring professional may be needed.
Dried or old urine stains on hardwood
If you discover a dried spot or notice odor but no visible puddle:
- Clean the surface first.
Wipe with a hardwood-safe cleaner to remove any sticky residue. - Apply an enzymatic pet urine cleaner for hard floors.
Choose a product that mentions hard surfaces. Apply with a cloth or lightly misted spray so the surface is damp, not flooded. Follow the label’s recommended dwell time (often in the range of several minutes). - Blot and dry.
After the dwell time, blot any remaining liquid and dry thoroughly with a clean cloth. - Re-check after 24 hours.
Smell the area and inspect in good light. If odor or discoloration remains, repeat once. Persistent dark stains or a musty smell can indicate deeper damage that may require sanding or spot repair.
Cleaning vomit and diarrhea from hardwood
Vomit and diarrhea are more acidic and contain more solids than urine, so they can damage finishes and leave strong odors.
- Remove solids carefully.
Use a stiff piece of cardboard or a plastic scraper to lift solids without grinding them into the wood. Work from the outside of the mess toward the center. - Blot remaining moisture.
Place paper towels over the area and press for 10–20 seconds. Repeat until mostly dry. - Pre-rinse with a damp cloth.
Use cool water on a cloth wrung out so it is just damp. Gently wipe away remaining residue. Immediately follow with a dry towel. - Clean with a gentle, pet-safe floor cleaner.
Apply the cleaner to a cloth or mop, not directly to the floor. Wipe the area thoroughly, covering at least 6–12 inches beyond the visible mess. - Disinfect if needed.
If the mess involved diarrhea or you are concerned about germs, choose a disinfectant labeled as safe for use around pets and compatible with sealed hardwood. Follow the contact time on the label, then wipe with a damp cloth if required and dry. - Check for dull or cloudy spots.
After drying, look at the floor from a low angle in good light. If the finish looks dull or cloudy compared with nearby boards, you may have removed some of the protective layer. A hardwood-safe polish or professional touch-up can improve appearance.
Cleaning pet accidents on laminate and luxury vinyl
Laminate and vinyl are more water-resistant than wood, but the seams and edges are still vulnerable.
- Blot liquid quickly.
Use paper towels or cloths to remove as much urine or vomit as possible. Try to get the area mostly dry within 5–10 minutes. - Wipe with a slightly damp cloth.
Use plain water first to remove residue. The cloth should be damp, not dripping. Wipe seams and edges carefully. - Use a floor cleaner approved for laminate or vinyl.
Spray cleaner onto a cloth or microfiber mop and wipe the area. Avoid steam mops and heavy soaking, which can force moisture into joints. - Dry seams and edges.
Use a dry cloth to remove any moisture that may have seeped into plank edges and joints. - Apply enzymatic odor remover if needed.
Choose a product that is safe for laminate or vinyl. Apply sparingly and dry thoroughly afterward.
Cleaning pet accidents on ceramic and porcelain tile
Tile itself is tough, but grout can hold smells.
- Remove solids and blot liquids.
Scoop solids into a trash bag, then blot urine or diarrhea with paper towels. - Wash with warm water and mild detergent.
Use a mop or cloth to clean the tile and grout lines. Focus on any joints where liquid pooled. - Rinse with clean water.
Go over the area with clean water to remove detergent residue, then dry with a towel or mop. - Disinfect if needed.
Use a pet-safe disinfectant suitable for tile and grout. Follow label directions for contact time and rinsing. - Treat grout for lingering odor.
Apply an enzymatic cleaner along grout lines where urine pooled. Let it sit as directed, then wipe and dry.
Cleaning pet accidents on natural stone tile
Natural stone needs gentler care.
- Blot spills immediately; aim to remove visible moisture within 2–3 minutes.
- Use a stone-safe cleaner recommended for your specific material.
- Avoid strong acids or abrasive powders that can scratch or etch the surface.
- Dry thoroughly with a soft cloth and, if needed, use a fan for 15–20 minutes to protect the sealer.
Comparison table: cleaning methods by floor type
| Floor type | Best use of water | Safe accident-cleaning routine | Products or tools to avoid | Main risk if cleaned wrong |
|---|---|---|---|---|
| Sealed hardwood | Very limited; surface should not stay visibly wet longer than 2–3 minutes | Blot, wipe with barely damp cloth, use hardwood-safe pet cleaner, dry with cloth and fan | Excess water, harsh bleach, undiluted strong vinegar, abrasive powders, steam mops | Warping, cloudy or stripped finish, dark stains that may need refinishing |
| Unsealed / waxed hardwood | Minimal; only a lightly misted cloth if absolutely necessary | Blot aggressively, spot-clean with cleaner approved for waxed/oiled wood, dry immediately | Soaking with water, generic wood cleaners not rated for wax, steam mops, strong solvents | Deep staining, raised grain, need for sanding or board replacement |
| Laminate | Light; damp (not wet) cloth, avoid puddles at seams | Blot, wipe with slightly damp cloth, laminate-safe cleaner, dry seams and edges | Standing water, steam mops, strong solvents, scouring pads | Swollen boards, lifted edges, peeling top layer |
| Luxury vinyl plank/tile | Moderate; surface can be damp for several minutes but joints should not stay wet long | Blot, damp wipe, vinyl-safe cleaner, dry joints and edges | Very hot water or steam, abrasive scrubbers, harsh solvents | Curling edges, surface dulling, discoloration at seams |
| Ceramic / porcelain tile | Higher tolerance; short-term puddles are usually fine, but grout should be dried | Remove solids, mop with mild detergent, rinse, treat grout with enzymatic cleaner if needed | Very abrasive powders on glossy tile, mixing different chemical cleaners | Scratches on glaze, persistent odor trapped in grout |
| Natural stone tile | Limited; avoid long contact with liquids, especially acidic ones | Blot quickly, clean with stone-safe cleaner, dry thoroughly and protect sealer | Strong acids (including strong vinegar), harsh abrasives, unknown cleaners | Etching, dull spots, permanent surface damage that may need professional restoration |
Pet-safe disinfecting methods for hard floors
Sometimes you need more than just cleaning, especially after diarrhea or vomit. The challenge is balancing disinfection with safety for both pets and floors.
How to choose a disinfectant
When selecting a product:
- Look for labels that mention use around pets or similar wording.
- Check that the product is compatible with your floor type (hardwood, laminate, tile, stone).
- Read the instructions for contact time (how long the surface must stay wet) and any required rinsing.
- Plan to keep pets away from the area until it is completely dry; giving it at least the label’s full drying time is a good baseline.
Safer disinfecting routine by floor type
- Hardwood and laminate
Use a disinfectant that specifically lists sealed wood or laminate as a suitable surface. Apply lightly with a cloth or microfiber mop, not by pouring. After the required contact time, wipe with a damp cloth if the label calls for rinsing, then dry thoroughly. - Tile and grout
You can usually use a bit more liquid on tile. Apply the disinfectant, paying attention to grout lines, allow the full contact time, then rinse and dry. Keep pets off the floor until it is no longer damp or tacky. - Natural stone
Use only disinfectants that are safe for your specific stone type. If you are unsure, test a small, hidden area first and, when possible, confirm with the stone manufacturer or installer.
Odor prevention and long-term smell control
Even when a floor looks clean, pets can still smell old accidents and may return to the same spot. Odor control is as important as stain removal.
Using enzymatic cleaners correctly
Enzymatic cleaners help break down the proteins in urine and other organic messes.
- Choose the right formula. Look for products made for pet urine and safe for hard floors.
- Follow the label exactly. Many require a specific dwell time; set a timer so you do not wipe them away too early.
- Avoid over-wetting wood. On hardwood and laminate, apply with a cloth or lightly misted spray, not by soaking the area.
- Repeat if needed. Strong odors or older stains may need more than one treatment.
Preventing repeat accidents
Odor control is part of responsible pet ownership and helps protect your floors.
- Clean accidents immediately. Aim to reach the spot within 5–10 minutes whenever possible.
- Use a blacklight to find hidden spots. In a dark room, a handheld UV light can reveal dried urine so you can treat all affected areas.
- Address medical or behavioral causes. Frequent accidents can signal health issues or incomplete house training. Talk with your veterinarian or a qualified trainer if accidents continue.
- Provide enough litter boxes or potty breaks. A common rule of thumb for cats is at least one litter box per cat, plus one extra; for dogs, regular outdoor breaks matched to age and health help protect your floors.
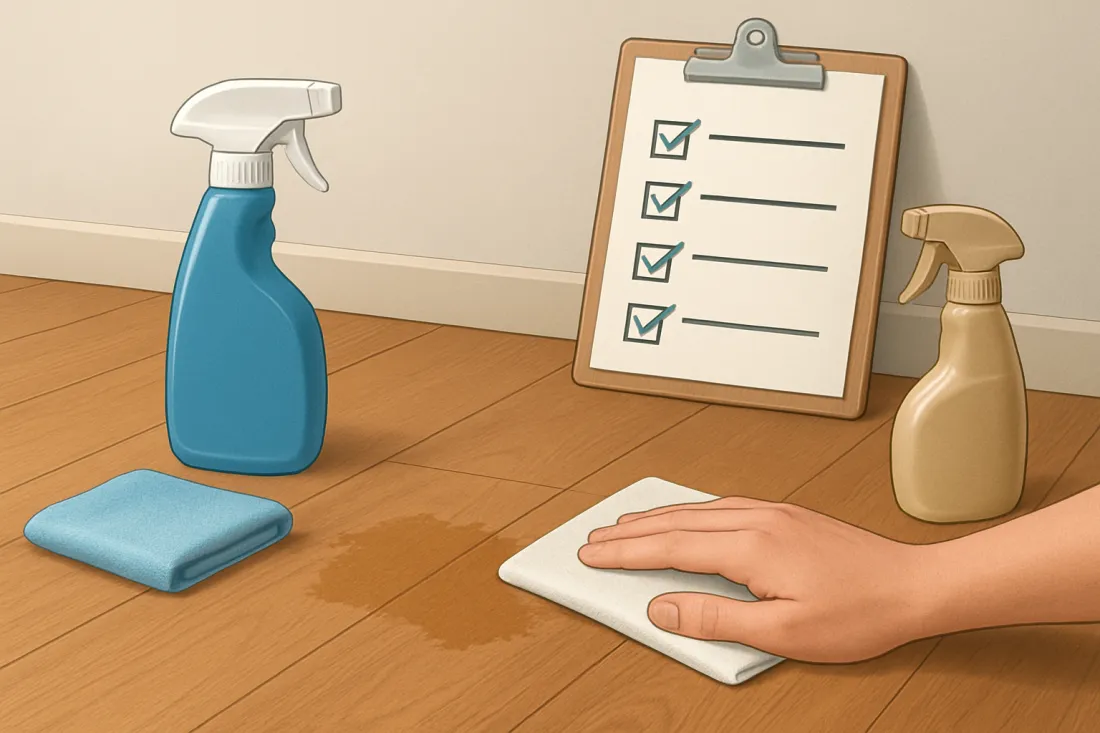
Checklist: protect your hard floors from pet accidents long term
Use this practical checklist to reduce damage and make cleanup easier.
Daily and weekly habits
- Scan common accident zones (near doors, litter boxes, favorite corners) once a day for fresh spots.
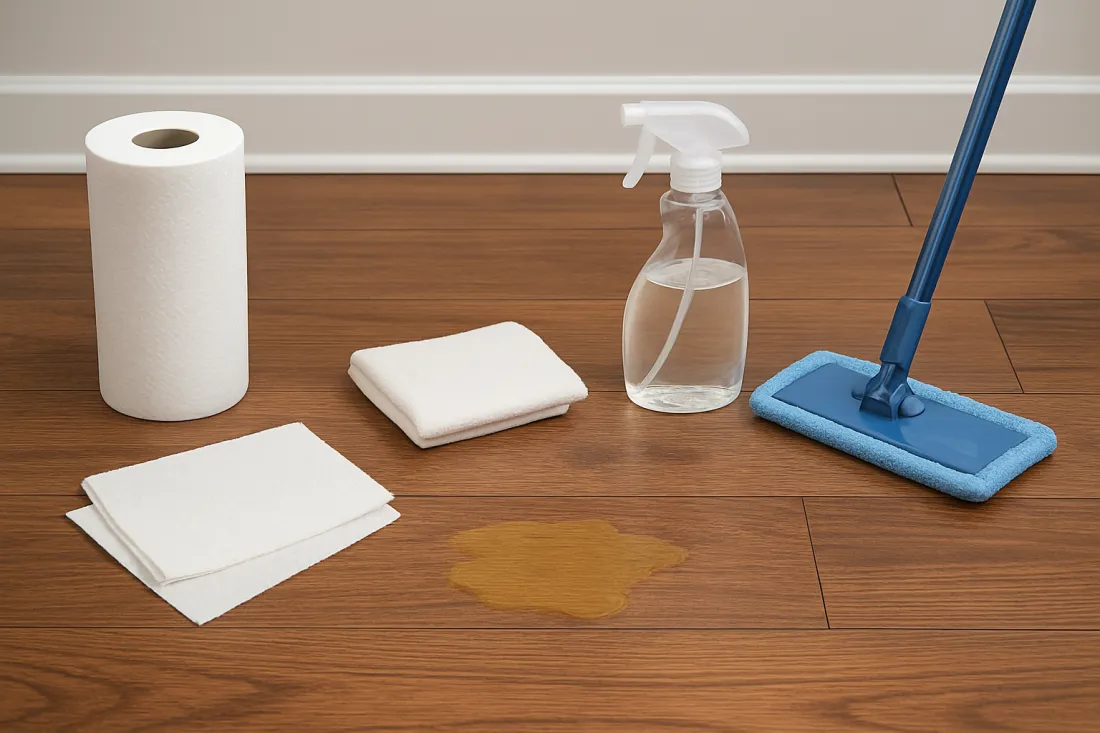
- Keep a pet-safe cleaner kit ready in one place: paper towels, microfiber cloths, a hard-floor-safe pet cleaner, an enzymatic odor remover, and disposable gloves.
- Wipe up water bowl splashes and drool daily to prevent slow damage to wood and laminate.
- Follow a pet friendly cleaning routine so small accidents are caught early and surfaces stay protected.
Floor protection steps
- Use washable rugs or mats in high-risk areas (entryways, under litter boxes, around water bowls, near dog beds).
- Check floor finish condition once or twice a year. If the finish looks dull, scratched, or patchy in areas larger than a few square feet, consider re-coating or resealing to improve resistance to moisture.
- Protect gaps and transitions where urine could seep to the subfloor, such as around door thresholds and at the edges of laminate or vinyl.
- Store product instructions and any floor care guides from your installer so you can quickly confirm which cleaners are safe.
Pet care and training
- Maintain a consistent potty schedule for dogs and keep litter boxes clean and accessible for cats.
- Monitor changes in bathroom habits and contact your vet if accidents suddenly increase in number or size.
- Reward correct potty behavior to reinforce good habits and reduce indoor accidents.
- If you also have carpeted areas, learn how to clean dog and cat urine from carpet so you are prepared for every surface in your home.
Common mistakes and limitations when cleaning pet urine from hard floors
Avoiding a few typical errors can save you from expensive floor repairs.
- Letting accidents sit too long. Waiting even a couple of hours can allow urine to soak into seams, grout, or unfinished wood, making odor and staining much harder to remove.
- Using too much water on wood or laminate. Flooding the area or mopping with a very wet mop can cause warping, swelling, or finish damage.
- Scrubbing aggressively with abrasive tools. Steel wool, stiff brushes, or rough pads can scratch finishes and make floors harder to clean in the future.
- Mixing cleaning products. Combining different chemicals can be unsafe and may damage finishes. Stick to one product at a time and follow its directions.
- Relying only on fragrance to cover odor. Strong scents without proper cleaning and enzymatic treatment may not remove the smell that pets can detect, which can encourage repeat accidents.
- Ignoring the subfloor risk. Repeated accidents in the same spot can eventually reach the subfloor, especially around gaps and edges. If you notice persistent odor even after careful cleaning, deeper inspection may be needed.
Decision guide: when to handle it yourself and when to get help
Most single accidents on sealed hardwood, laminate, or tile can be handled at home with the right products. Consider getting professional help when:
- Stains are dark and do not improve after careful cleaning and one or two enzymatic treatments.
- Boards are warped, cupped, or swollen after repeated exposure to moisture.
- Odor persists even after treating the surface and grout, suggesting the subfloor may be affected.
- Natural stone shows dull or etched spots after contact with vomit or cleaners.
A flooring specialist or restoration company can assess whether sanding, refinishing, or partial replacement is needed.
What to do next after learning how to clean pet urine safely
Once you understand how to protect your floors during accidents, the next steps are about prevention and routine:
- Set up a ready-to-grab cleanup kit in the area where accidents are most likely.
- Walk through your home and add rugs or mats where they will do the most good without getting in the way.
- Review your pet’s bathroom schedule and training to reduce future accidents.
- Build a simple weekly pet-safe cleaning routine so small spills and marks never have time to become permanent damage.
- If you are considering adding another pet, learn can first time pet owners adopt from shelters to prepare for responsible ownership from day one.
FAQ about cleaning pet urine from hardwood and other hard floors
What is the safest way to clean fresh pet urine from hardwood floors?
Act quickly: blot up as much urine as possible with paper towels, then wipe the area with a slightly damp cloth so the surface is never wet for more than a few minutes. Clean with a hardwood-safe, pet-safe cleaner applied to a cloth or mop head, not poured directly on the floor. Dry thoroughly with a clean towel and, if needed, a fan before letting your pet back on the area.
What mistakes should I avoid when cleaning pet accidents on hardwood and laminate?
Avoid soaking the floor, using steam mops, scrubbing with abrasive pads, or mixing different cleaning products. Do not leave accidents to sit for hours, and do not rely only on strong fragrances to hide odor. These mistakes can lead to warped boards, scratched finishes, and lingering smells that encourage repeat accidents.
How can I tell if pet urine has damaged my hardwood floor?
After cleaning and drying, look for dark patches, raised or rough grain, or boards that look cupped or warped compared with nearby planks. Smell the area from close up; if odor remains after one or two careful cleanings with an enzymatic product, urine may have penetrated deeper layers or the subfloor, and a flooring professional may need to inspect it.
What should I do differently for vomit or diarrhea on hard floors?
For vomit or diarrhea, first lift solids gently with cardboard or a scraper, then blot remaining moisture. Use a damp cloth to remove residue, followed by a pet-safe floor cleaner. Because these messes can carry more germs, consider a pet-safe disinfectant that is compatible with your floor type, and always rinse and dry if the label instructs you to do so.
What should I prioritize after learning how to clean pet urine safely from hard floors?
Focus on prevention and preparation: keep a dedicated cleanup kit in an easy-to-reach spot, add washable rugs in high-risk areas, maintain a consistent potty routine for your pet, and follow a regular pet-safe floor cleaning routine. These habits reduce the number of accidents and limit damage when they do happen, helping you protect both your floors and your pet’s comfort at home.