
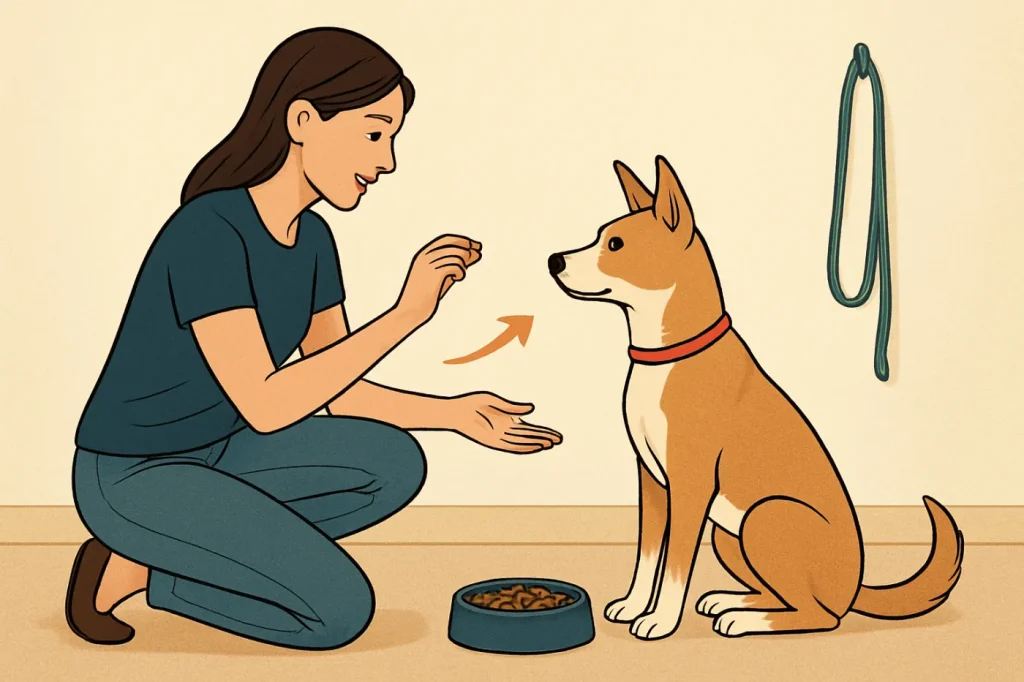
Positive reinforcement training means you pay your dog for the behaviors you like, instead of punishing the ones you do not. You use rewards (usually food, toys, or access to something fun) to make good choices more likely in the future. This reward-based, humane approach is widely recommended by veterinary and behavior professionals in the United States because it helps dogs learn safely, builds trust, and reduces fear and anxiety.
Positive reinforcement basics for a brand‑new dog owner
As a new dog owner, you do not need to be a professional trainer to use positive reinforcement well. You only need a few basics:
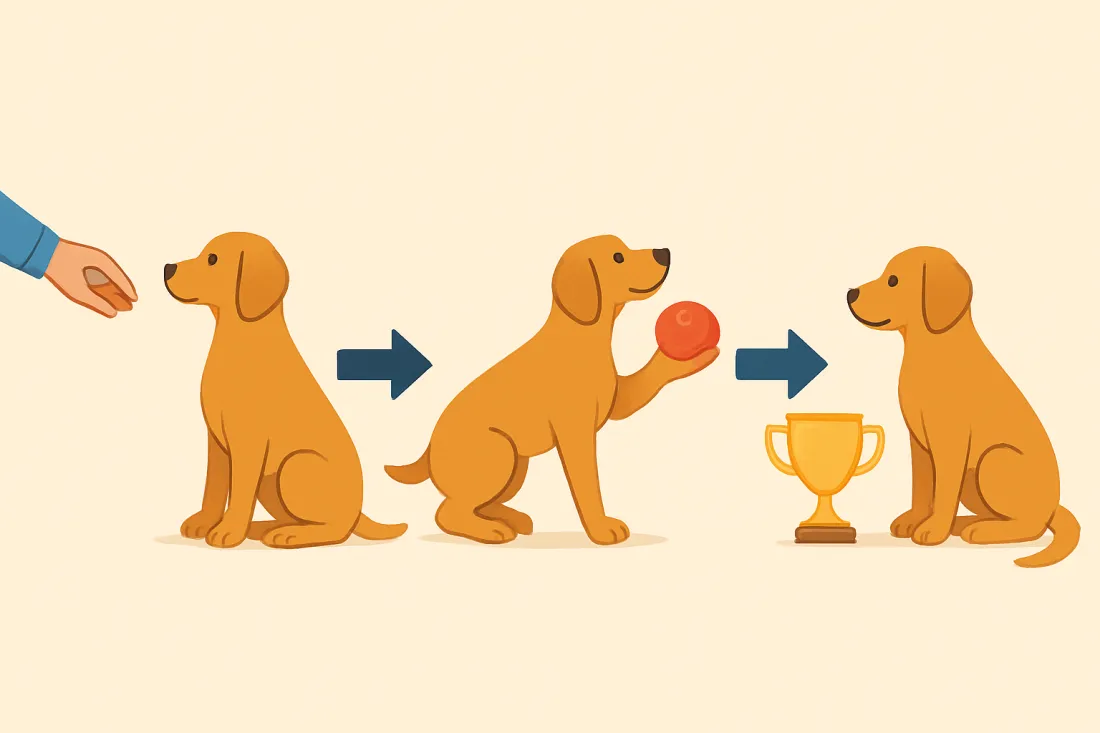
- Reward what you like – sit, calm behavior, coming when called, walking with a loose leash.
- Prevent or redirect what you do not like – manage the environment and teach an alternative behavior instead of punishing.
- Keep sessions short and fun – a few minutes at a time, several times per day.
- Use safe, humane methods – no yelling, hitting, leash jerks, or pain-based tools.
When you focus on rewarding good choices, your dog learns faster, feels safer, and is more likely to listen to you in real-life situations.
Core principles that make positive reinforcement work
Three simple principles make positive reinforcement effective. Think of them as your training “rules of the game.”
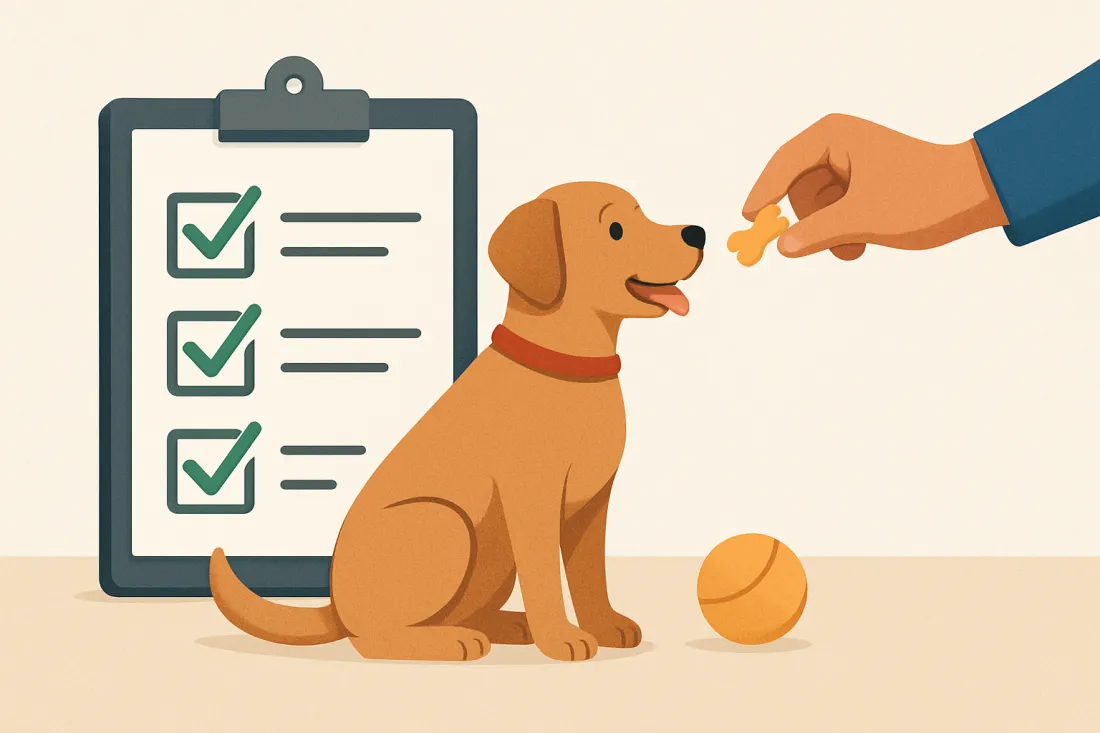
1. Timing: reward within a couple of seconds
Dogs connect their behavior to what happens immediately afterward. If you reward too late, your dog may not understand what earned the treat.
- Have treats ready in your hand or a pouch before you ask for a behavior.
- Say your marker word (many people use “Yes!”) or click a clicker the moment your dog does the right thing, then give the treat right away.
- If you are unsure what you rewarded, assume your timing was off and try again more carefully.
2. Consistency: same cue, same rules, same response
Dogs do best when the rules are clear and predictable.
- Use the same word for each cue (for example, always “Sit,” not “Sit down” one day and “Park it” the next).
- Everyone in the household should follow the same rules: if jumping is not allowed, no one should encourage it.
- Reward the behavior every time when you are first teaching it. You can fade to a variable schedule later, once your dog truly understands.
3. Rewards: use what your dog actually loves
A reward only works if your dog cares about it. For many dogs, small, soft treats are easiest for training. Others may work happily for a favorite toy or a chance to sniff.
- Use tiny pieces so you can do many repetitions without overfeeding.
- Have a mix of “everyday” treats and “jackpot” rewards (something extra special) for harder tasks.
- Non-food rewards matter too: praise, petting (if your dog enjoys it), sniffing a bush, or getting to greet a friend.
Step-by-step guide: teaching Sit, Stay, Come, and Leave it
These four skills are the foundation of a well-mannered dog. Use short, upbeat sessions and end while your dog is still interested.
How to teach “Sit”
- Get your dog’s attention. Hold a treat at your dog’s nose.
- Lure the sit. Slowly move the treat up and back over the head. As your dog follows it, the rear usually drops to the floor.
- Mark and reward. The instant the bottom hits the floor, say “Yes!” and give the treat.
- Add the cue. After several successful repetitions, say “Sit” once just before you move your hand.
- Practice in short bursts. Do a handful of repetitions, then take a break.
Later, fade the hand lure: say “Sit,” wait a second, then reward when your dog offers the behavior without your hand moving.
How to teach “Stay”
Stay means “hold this position until I release you.” Start easy.
- Ask for a sit. Reward once.
- Add a stay cue. Say “Stay” in a calm voice and show a flat hand signal in front of your dog’s face.
- Count a couple of seconds. If your dog remains sitting, say “Yes!” and reward.
- Gradually increase time. Add a second or two at a time. If your dog breaks the stay, you made it too hard. Go back to a shorter time.
- Add distance and distractions slowly. First take one small step back, then return and reward. Later, practice in different rooms, then in the yard, then on quiet walks.
- Use a release word. Choose a word like “Okay” or “Free” to tell your dog the stay is over. Say the release, then encourage your dog to move and reward.
How to teach “Come” (recall)
A reliable recall is a safety skill. Always make “Come” worth it.
- Start indoors on a leash or in a small space. Kneel down, open your arms, and use a happy voice.
- Say your dog’s name, then “Come!” When your dog turns toward you, cheer and back up a step to encourage movement.
- Mark and reward generously. When your dog reaches you, say “Yes!” and give several treats in a row, plus praise and maybe a quick game.
- Avoid pairing Come with anything unpleasant. If you need to do something your dog might not like (bath, nail trim), go get your dog instead of calling with “Come.”
- Practice everywhere. Gradually add distance and mild distractions, using a long line outdoors for safety.
How to teach “Leave it”
“Leave it” means “do not touch that; look to me instead.” It is useful for dropped food, trash on walks, or anything unsafe.
- Start with a treat in a closed fist. Show your dog your fist and let them sniff, lick, or paw. Say nothing.
- Wait for a pause. The moment your dog backs off, even for a second, say “Yes!” and give a different treat from your other hand.
- Repeat until backing off happens quickly. Your dog learns that ignoring the fist makes treats appear.
- Add the cue. Say “Leave it” as your dog approaches your fist. When they back off, mark and reward from the other hand.
- Make it harder gradually. Place a treat on the floor and cover it with your hand. Say “Leave it.” When your dog backs off, reward from your other hand. Over time, uncover the treat, then practice with toys or low-value items, always paying with something better.
House-training and crate-training with positive reinforcement
House-training and crate-training are easier when you think in terms of management and rewards, not punishment.
House-training basics
- Supervise closely. When your dog is not in a crate or safe area, keep them in the same room with you so you can spot early signs (sniffing, circling, wandering off).
- Use a regular potty schedule. Take your dog out after waking up, after eating or drinking, after play, and at regular intervals during the day. Young puppies may need to go out very often; adult dogs can usually wait longer, depending on health and routine.
- Choose a potty spot. Take your dog to the same outdoor area. Stand quietly and give a simple cue like “Go potty.”
- Reward immediately. The moment your dog finishes, praise and give a treat right there in the yard. Do not wait until you are back inside.
- Handle accidents calmly. If you catch your dog in the act, interrupt gently (“Oops, outside!”), take them out, and reward if they finish outside. Do not yell or rub their nose in it. Clean accidents thoroughly with an enzymatic cleaner.
Crate-training basics
A crate can be a safe, cozy den, not a punishment box, when introduced gradually.
- Make the crate inviting. Add a soft bed or mat and a safe chew. Leave the door open at first.
- Pair the crate with good things. Toss treats inside for your dog to find. Feed meals in the crate with the door open, then closed for short periods.
- Build duration slowly. Start with a few seconds of closed-door time while you sit nearby, then open and reward. Gradually increase to a few minutes, then longer, always releasing your dog while they are calm.
- Keep it positive. Never use the crate as a place for time-outs after punishment. If your dog cries, check whether they need a potty break, are too hot or cold, or were left too long for their current comfort level.
Comparison table: reward-based training vs punishment-based methods
Understanding the differences helps you choose humane, effective training strategies.
| Training approach | What it focuses on | Typical tools and tactics | Likely dog response | Risks and downsides |
|---|---|---|---|---|
| Positive reinforcement | Rewarding desired behaviors so they happen more often | Treats, toys, praise, play, access to sniffing or social time | More willing, engaged, and confident; often offers good behaviors on their own | Requires planning and consistency; owner must manage rewards instead of reacting after problems |
| Punishment-based | Stopping unwanted behaviors after they happen | Yelling, leash jerks, physical corrections, pain-based collars, intimidation | May stop behavior in the moment but can create fear, avoidance, or shutdown | Higher risk of stress, anxiety, and damaged trust; dog may learn to hide behavior instead of truly understanding |
| Mixed methods | Some rewards plus occasional punishment | Treats and praise, but also scolding or physical corrections when frustrated | Confused about what is safe; may listen sometimes but ignore or avoid at other times | Unclear rules; harder to build a stable, trusting relationship; behavior can be unpredictable |
How to structure short daily training sessions
Short, frequent sessions are more effective than one long, exhausting session. Think “mini lessons” built into your day.
Daily structure example
- Morning (about 5–10 minutes total)
- After potty and breakfast, practice a few repetitions each of Sit and Stay.
- Reward calm behavior before you leave for work or errands.
- Afternoon or early evening (about 5–10 minutes)
- Practice Come in the yard or a hallway using a long line if needed.
- Work on Leave it with low-value items.
- Evening (about 5–10 minutes)
- Do a few crate-training repetitions with chews or a stuffed food toy.
- Practice a mix of known cues in different rooms.
Checklist for a successful training session
- My dog is not overly tired, hungry, or bursting with energy.
- I have small, soft treats ready or another reward my dog loves.
- I know exactly which one or two skills I will practice.
- The environment is as distraction-free as possible for my dog’s current level.
- I will keep the session under about 5–10 minutes and end on a success.
- I will stay calm and patient, even if my dog struggles.
If you need help fitting training into a busy schedule, it can help to pair training with routine care, such as using a daily dog care routine for working owners as your base structure.
Four-week beginner training plan using positive reinforcement
Use this as a flexible guide for your first month. Adjust the pace to your dog’s age, health, and comfort. Each “week” can last longer if needed.
| Week | Main focus | Daily goals | What success looks like |
|---|---|---|---|
| Week 1 | Bonding, house-training, crate introduction, Sit |
|
|
| Week 2 | Stay basics, Come indoors, crate duration |
|
|
| Week 3 | Leave it, stronger Stay and Come, distractions |
|
|
| Week 4 | Real-life practice and generalization |
|
|
Common mistakes new dog owners should avoid
Even with the best intentions, some habits can slow progress or harm your relationship. Watch for these and adjust early.
1. Relying on punishment or intimidation
Yelling, leash jerks, or physical corrections might stop a behavior in the moment, but they do not teach what to do instead. They can also create fear or defensive reactions.
Do this instead: Manage the environment (use baby gates, leashes, crates) and teach an alternative behavior you can reward, such as Sit instead of jumping or chewing a toy instead of furniture.
2. Repeating cues over and over
Saying “Sit, sit, sit, sit” teaches your dog that the first few times do not matter.
Do this instead: Say the cue once, wait a few seconds, then help your dog succeed with a hand lure or moving closer. Reward generously when they respond.
3. Training only when problems appear
Waiting until your dog is out of control to start training makes everything harder.
Do this instead: Build skills proactively with short daily sessions. Reward calm behavior before your dog gets overexcited.
4. Making sessions too long or too hard
Long, frustrating sessions can make both you and your dog dread training.
Do this instead: Keep sessions short and end on an easy win. If your dog fails twice in a row, lower the difficulty (shorter distance, fewer distractions, simpler task).
5. Inconsistent rules between family members
If one person allows couch time and another scolds for it, your dog cannot know what is expected.
Do this instead: Agree on household rules and cues in advance. A responsible pet ownership checklist for new dog owners can help everyone stay on the same page.
When to seek a certified trainer in the United States
Many new owners benefit from at least one puppy or basic manners class. Professional help is especially important if:
- Your dog shows signs of fear, aggression, or intense anxiety.
- House-training is not improving despite consistent effort.
- You feel overwhelmed, frustrated, or unsure how to proceed.
- Family members disagree about training methods.
What to look for in a humane, reward-based trainer
In the United States, dog training is not regulated the same way as some other professions, so it is important to ask questions and look for evidence of education and humane methods. Consider:
- Positive, reward-based philosophy. The trainer should clearly state that they use humane, non-aversive methods and avoid pain or fear.
- Formal education or certification. Look for trainers who have completed structured coursework or certification programs focused on behavior and learning, not just personal experience.
- Continuing education. Good trainers keep learning through seminars, workshops, and professional organizations.
- Transparent class structure. Ask how many dogs are in each class, what skills are covered, and how owners are coached.
- Comfort level during a visit. If possible, observe a class. Dogs and owners should look engaged and reasonably relaxed, not fearful or shut down.
If you have adopted a rescue dog, combining professional guidance with a structured plan such as a basic obedience training for rescue dogs guide can make the transition smoother.
Decision checks: how to adjust your training plan
Use these simple checks to decide when to move forward, slow down, or change tactics.
- Move forward when your dog succeeds most of the time at the current level.
- Slow down if your dog seems confused, stressed, or is failing more than they succeed.
- Change the environment (quieter room, shorter distance, fewer distractions) if your dog knows the cue at home but not outside.
- Change the reward (better treats, more play) if your dog is not very interested in working.
- Seek professional help if behavior is getting worse, or if there is any risk of bites or serious fear.
FAQ for new positive reinforcement dog owners
How many minutes per day should I train my dog?
Most new dogs do well with several short sessions of a few minutes each, spread throughout the day. You can also reward good behavior during normal routines, such as before meals or walks.
Do I always have to use treats?
Treats are very helpful when teaching new skills, but over time you can mix in other rewards like toys, praise, or access to sniffing. Keep using food rewards regularly enough that your dog stays motivated.
What if my dog only listens when I have food?
This usually means the dog has learned that cues and treats go together only in certain situations. Gradually vary when and how you reward, and practice in different places. Start by rewarding every time, then slowly shift to rewarding most of the time once your dog responds reliably.
Is my dog too old to learn with positive reinforcement?
Most healthy dogs can learn at any age. Older dogs may need shorter sessions and more patience, but positive reinforcement works for puppies, adults, and seniors.
What should I do next after learning the basics?
Keep practicing the core cues in real-life situations, add new skills such as loose-leash walking and polite greetings, and consider a group class or private lessons with a reward-based trainer to build your confidence and your dog’s skills. You can also review basic dog training rules for responsible owners to strengthen your overall approach.